
Battle of Gettysburg Buff
A website for Civil War
buffs interested in the
Battle of Gettysburg
Battle Walks
If you are visiting Gettysburg and exploring the battlefield, I strongly encourage you to take advantage of the various Ranger Programs, particularly the "Battle Walks" that are devoted to an in-depth look at a particular phase of the battle or a specific and/or often overlooked area of the battlefield such as:
Tilton’s and Sweitzer’s Brigades on July 2While much has been written about (and rightly so) General Strong Vincent’s Third Brigade and their heroic defense of Little Round Top on July 2, the hard fighting (often hand-to-hand and bayoneting) of the other two brigades of General James Barnes’ First Division of General George Sykes’ Union V Corps goes virtually unnoticed. Colonel William S. Tilton’s First Brigade (comprised of the 1st Michigan Infantry Regiment, the 18th Massachusetts Infantry Regiment, the 22nd Massachusetts Infantry Regiment, and the 118th Pennsylvania Infantry Regiment) and Colonel Jacob B. Sweitzer’s Brigade (comprised of the 4th Michigan Infantry Regiment, the 9th Massachusetts Infantry Regiment, the 32nd Massachusetts Infantry Regiment, and the 62nd Pennsylvania Infantry Regiment) were both involved in the hard fighting (Sweitzer’s Brigade alone suffered roughly 46% casualties, including the bayoneting of Colonel Harrison Jeffords of the 4th Michigan Infantry Regiment) for control of the Wheatfield and of the high ground of “the Stony Hill” at the southwest corner of the Wheatfield.
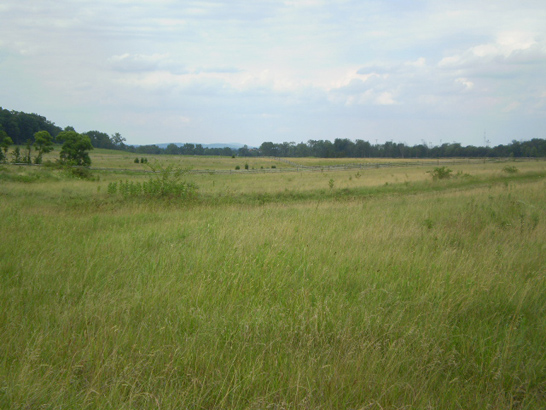
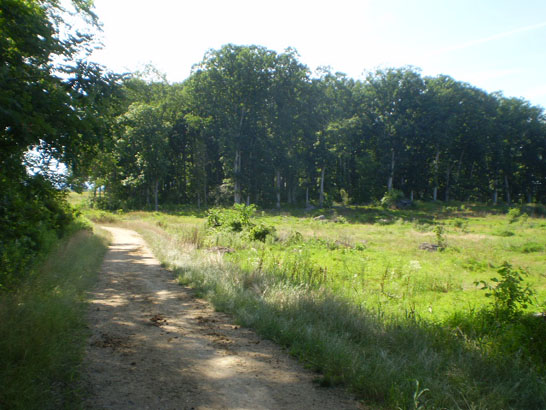
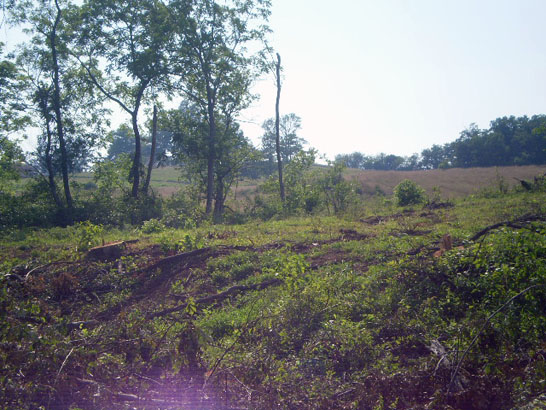
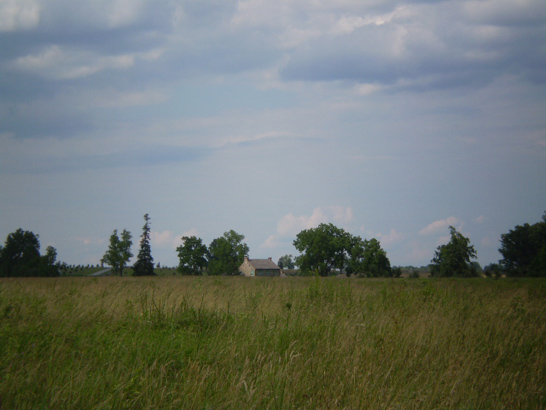
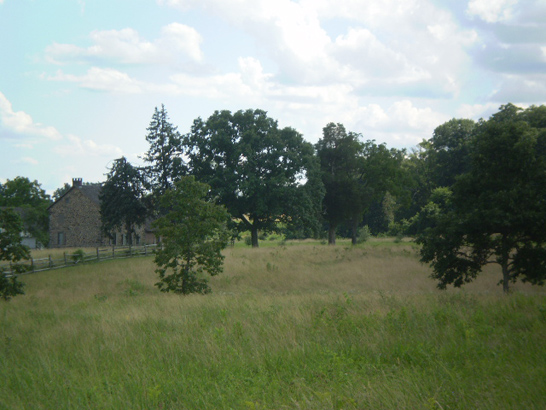
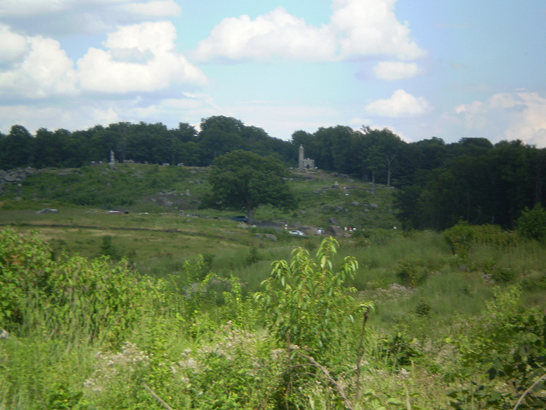
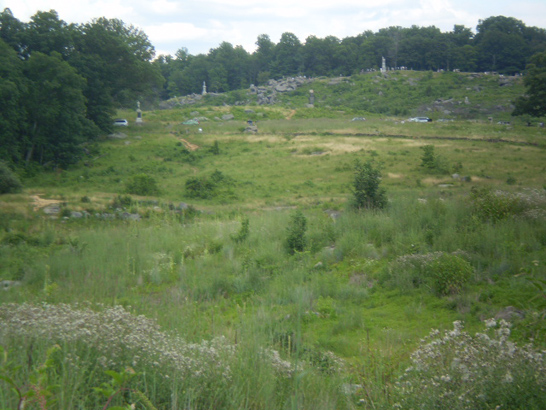
The Battle Walk conducted by Park Ranger John Hoptak in August of 2012 that walked the terrain from the staging point of both Tilton’s and Sweitzer’s Brigades to the area of the fighting in the Wheatfield and the Stony Hill and ultimately to the positions where they eventually fell back gave a good appreciation for the swales and treelines that perhaps added to the confusion caused by a lack of effective overall command of the Union troops that occurs all too often in “the fog of war.” Here are a few photos from that Battle Walk:

(view looking south toward the Wheatfield)

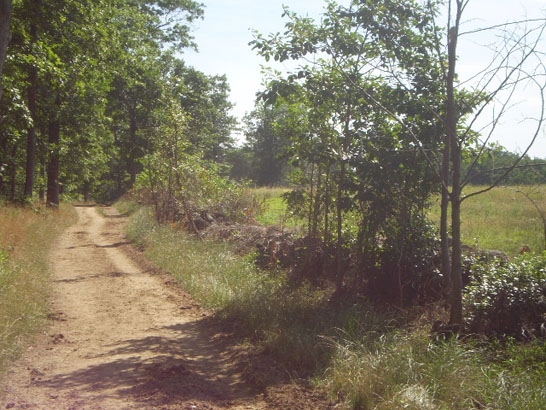
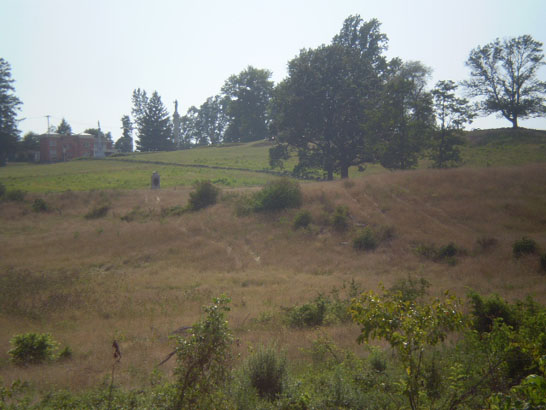
(view approaching the Wheatfield from the northeast)
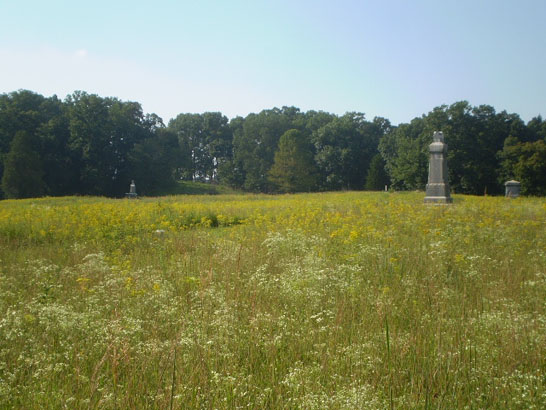
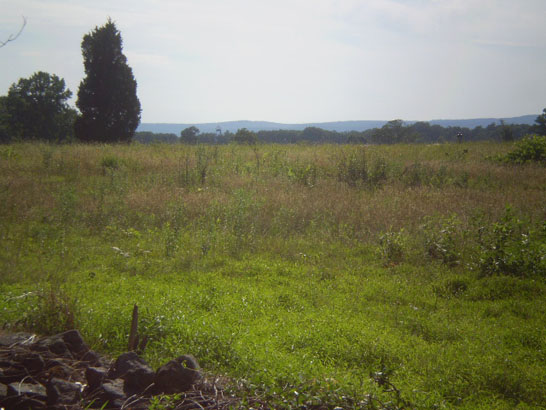
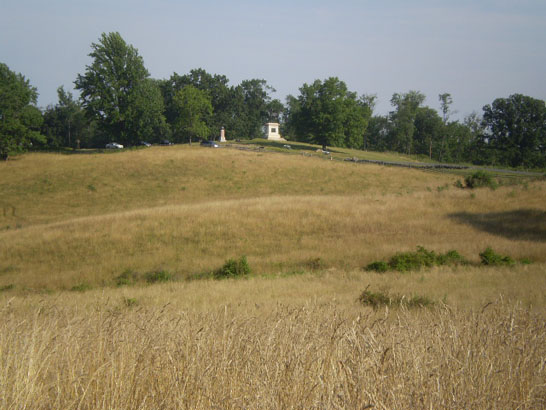
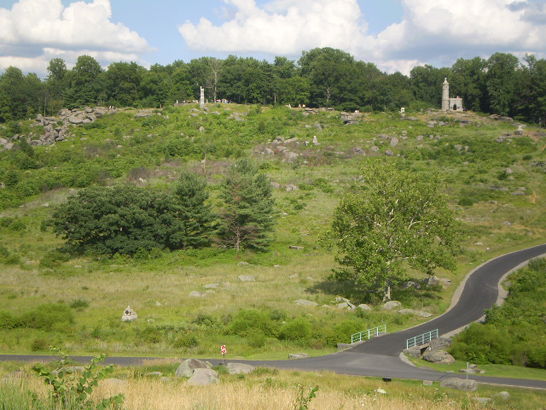
(view from the Wheatfield looking northwest toward Wheatfield Road)
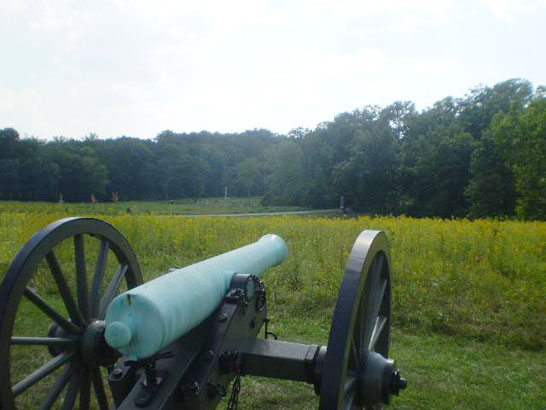
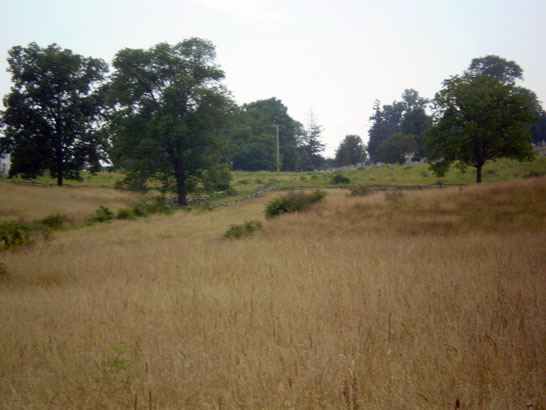
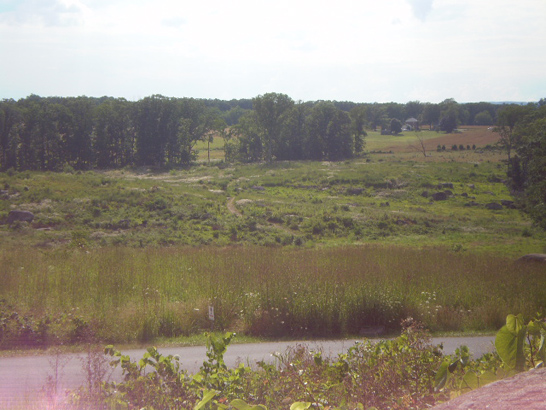
(view from Winslow’s Battery looking southwest toward “the Stony Hill”)
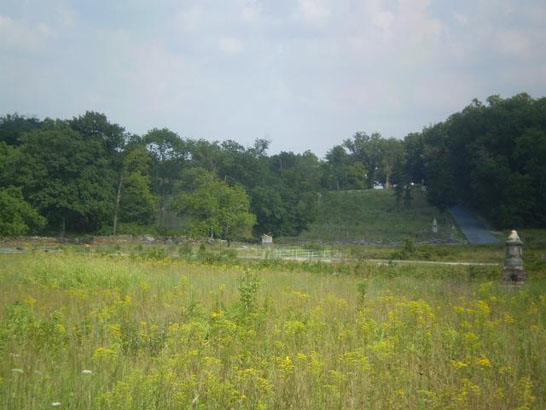
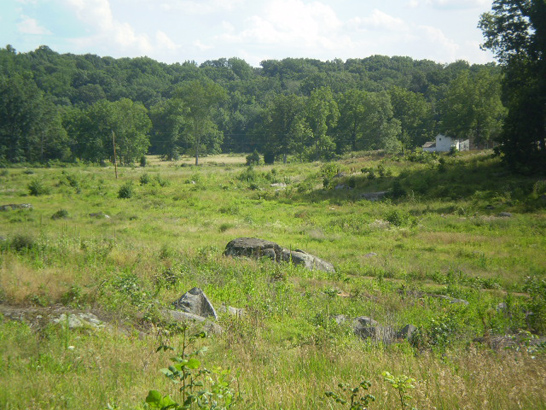
(view from the Wheatfield looking southwest toward “the Stony Hill”)
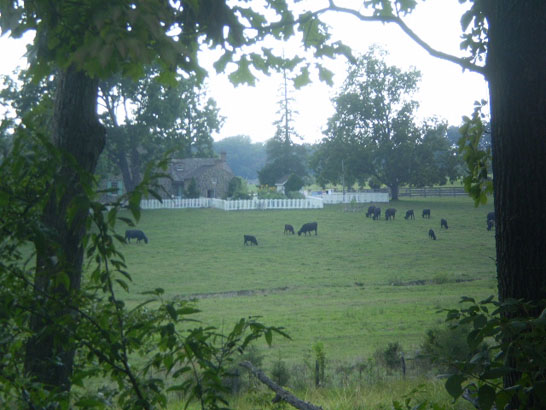
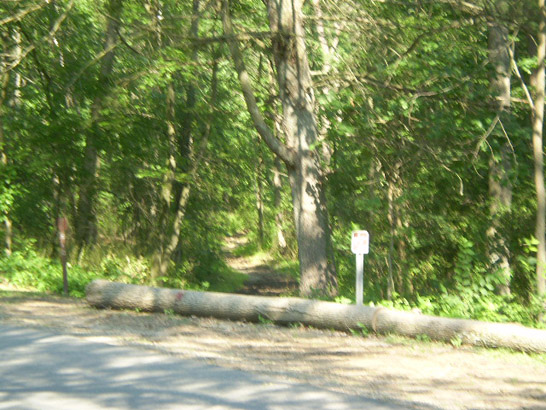
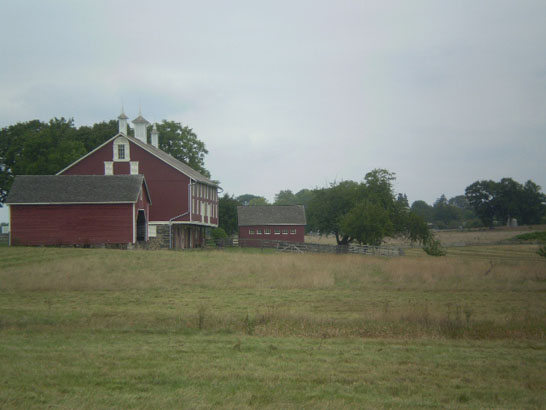
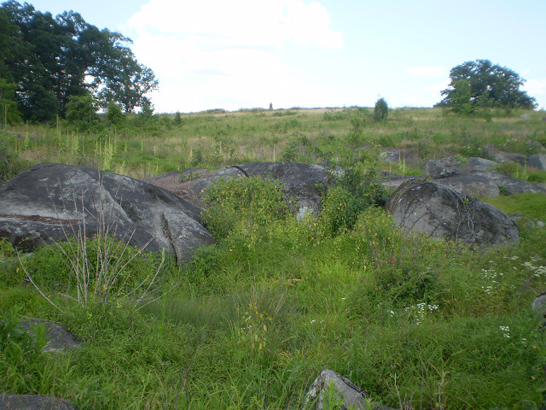
(view from “the Stony Hill” looking southwest toward the George Rose farm)
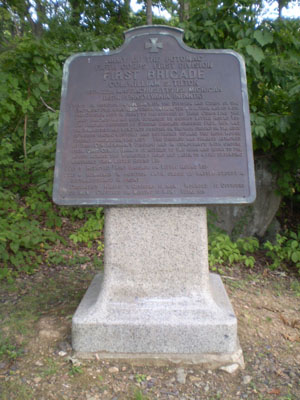
(marker for Colonel William S. Tilton’s Brigade on Sickles Avenue)
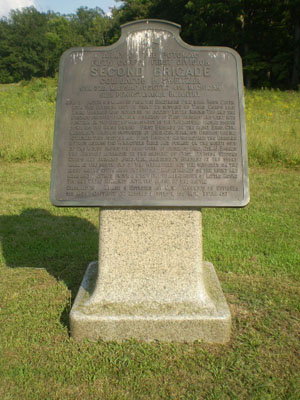
(marker for Colonel Jacob B. Sweitzer’s Brigade on DeTrobriand Avenue)
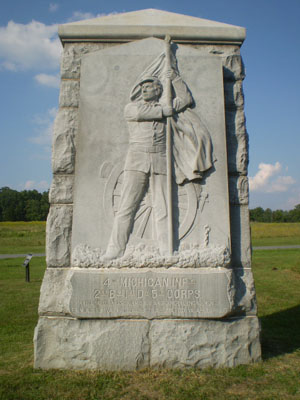
(monument to the 4th Michigan Infantry Regiment on DeTrobriand Avenue)
The refusal of the extreme left flank of the Union line on July 2
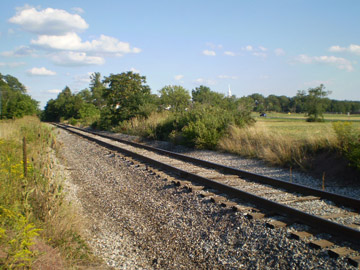
The successful defense of the Union left flank on the late afternoon of July 2 did not end with the famous bayonet charge by the 20th Maine Infantry Regiment on the southern slope of Little Round Top against the troops in the 15th Alabama Infantry Regiment. Even as that charge was being made, other Union regiments in General George Sykes’ V Corps (primarily those in Colonel Joseph W. Fisher’s Third Brigade – the 5th, 9th, 10th, 11th and 12th Pennsylvania Reserve Infantry Regiments -- in General Samuel W. Crawford’s Third Division) were being shifted to defend both Little Round Top and also take possession of Big Round Top to prevent that higher and heavily wooded hill from being used by Confederate forces as a concealed staging area to mount further offensive operations on the Union left flank and rear.
With the arrival on the field that day around 5:00 P.M. of General Albion P. Howe’s Second Division of General John Sedgwick’s VI Corps, General Lewis A. Grant’s Second Brigade (the 1st Vermont Brigade consisting of the 2nd, 3rd, 4th, 5th, and 6th Vermont Infantry Regiments) extended and “refused” the Union line eastward to also cover the Taneytown Road.
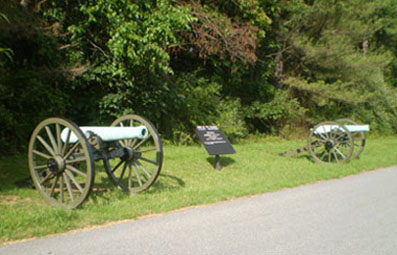
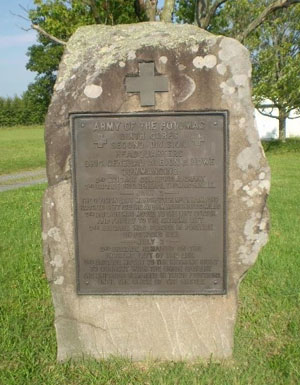
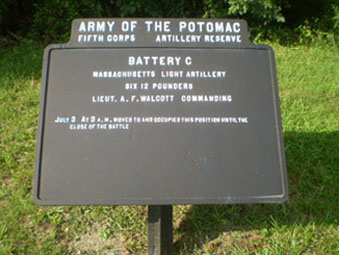
This defensive move became more important when later that night and early morning of July 3 Union cavalry encountered some of General James Longstreet’s I Corps scouts in the Union rear near Horner’s Mill (now called Barlow). This potential threat of an impending attack was deemed significant enough for other regiments of Union troops on Little Round Top (General David A. Russell’s Third Brigade – the 5th Wisconsin Infantry Regiment, the 6th Maine Infantry Regiment, the 49th Pennsylvania Infantry Regiment, and the 119th Pennsylvania Infantry Regiment -- of General Horatio G. Wright’s First Division of the VI Corps) and two batteries of artillery (Lieutenant Aaron F. Walcott’s Battery C of the Massachusetts Light Artillery and Captain Almont Barnes’ Battery C of the 1st New York Light Artillery) to be shifted at 3:00 A.M. in the morning – a highly unusual practice – to further extend and to bolster the Union position along both sides of the Taneytown Road.
This Battle Walk in July of 2012 by Park Ranger Troy Harman provided an in-depth study of the terrain occupied by both Union Corps, the reasons for “refusing” the Union left flank and how this was done. Here are a few photos from that Battle Walk:
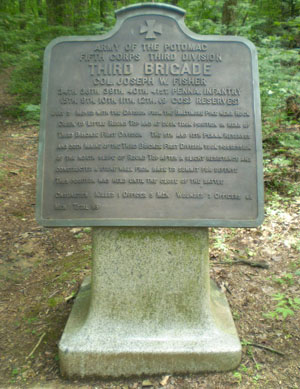
(marker for Colonel Joseph W. Fisher’s Brigade at the northern base of Big Round Top)
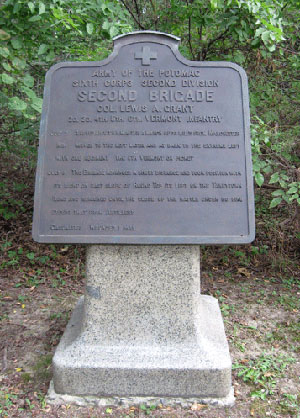
(marker for General Lewis A. Grant’s Brigade on Wright Avenue)

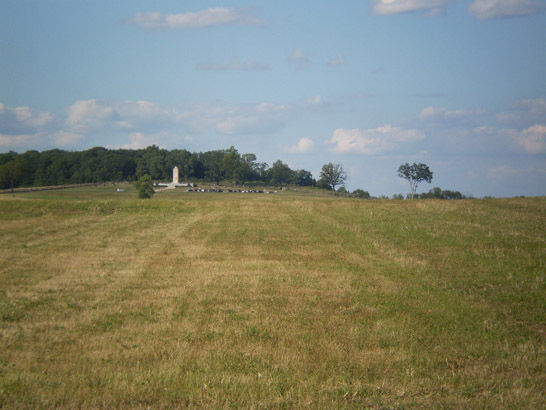
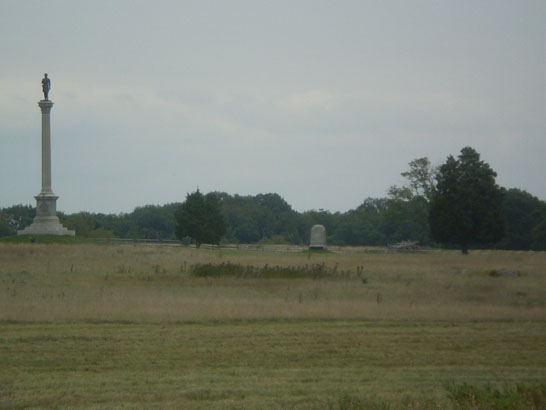
(1st Vermont Brigade monument on Wright Avenue looking southeast)
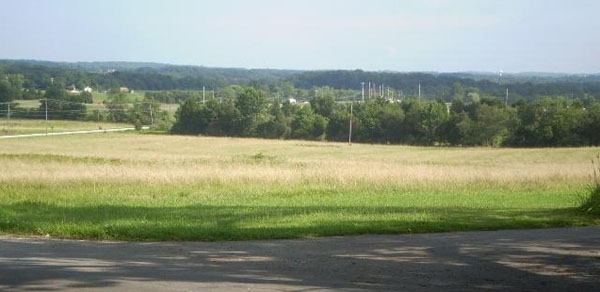
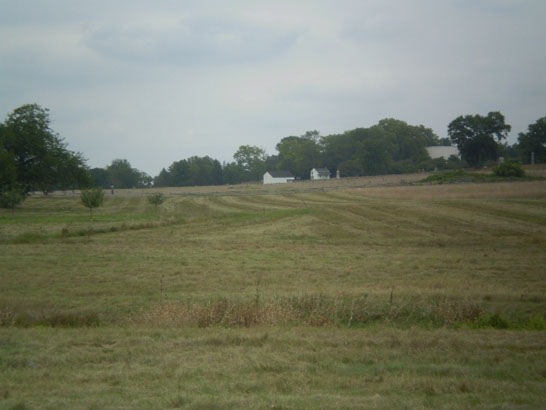
(view looking southeast from Wright Avenue toward the Taneytown Road)
(marker for General Albion Howe’s Division on Howe Avenue)
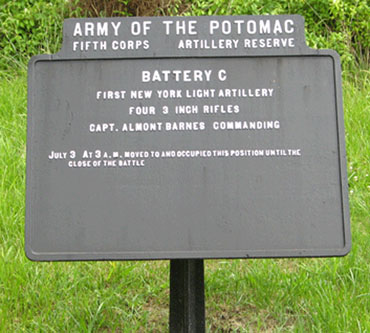
(marker to Captain Almont Barnes’ Battery C of the 1st New York Light Artillery on Howe Avenue -- note the time of 3 A.M. on July 3 as to when they were ordered to this position)
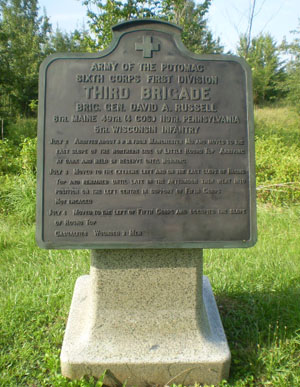
(Brigade marker for General David A. Russell’s Brigade on Howe Avenue)
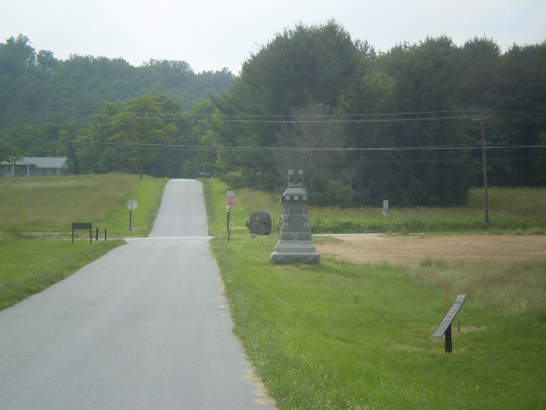
(view looking west on Howe Avenue across the Taneytown Road to Wright Avenue)

the back of the monument mentioning " … TO RESIST THREATENED ATTACK ...")
The Meade – Sickles controversy
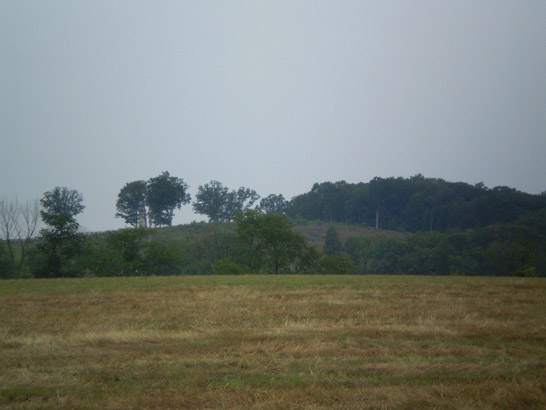
One of the biggest controversies of the Battle of Gettysburg has been, and always will be, the July 2 controversy involving General George Meade and General Daniel Sickles and whether or not Sickles disobeyed or misunderstood Meade’s orders regarding the placement of the III Corps troops in the Union Army’s line of battle. On the evening of July 1, General John Geary’s division of the XII Corps were sent to protect the vulnerable left flank along the southern end of Cemetery Ridge to Little Round Top, but later ordered early on the morning of July 2 to rejoin the rest of the XII Corps on Culp’s Hill. General Sickles was ordered to relieve Geary’s division and take their position on the Union Army’s left flank. But did Geary’s troops really have a military definition of a “position” even though their reports mention “encamped”, “bivouacked”, “skirmished”, and “picketing”.
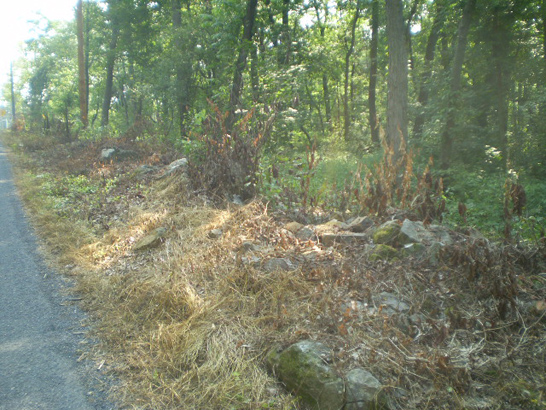
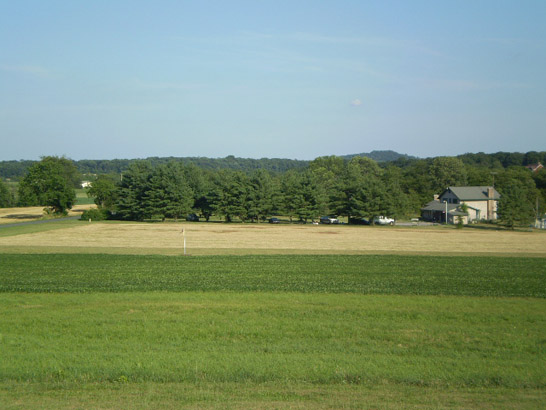
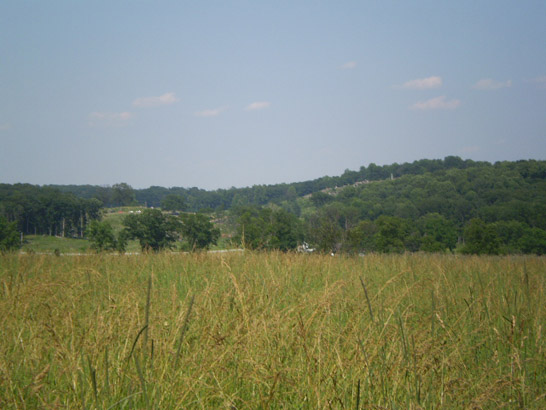
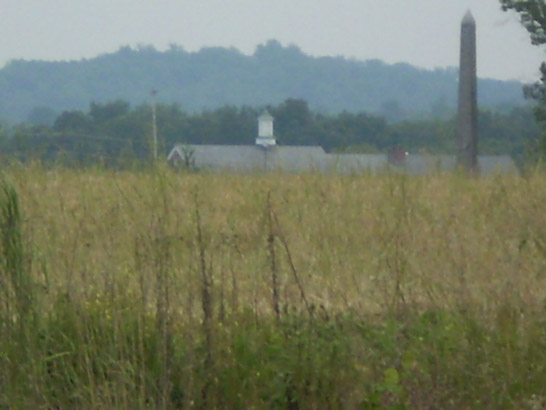
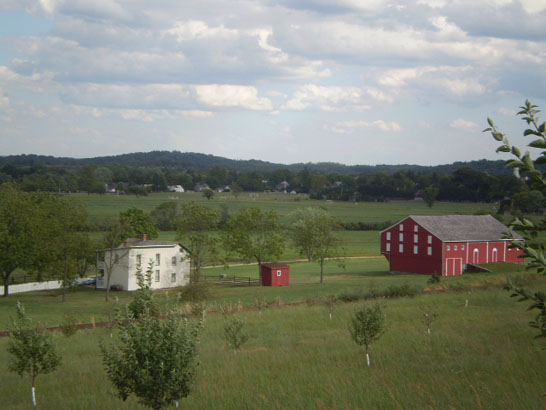
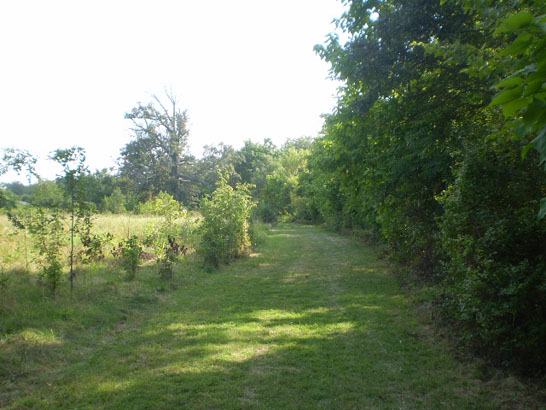
The Battle Walk entitled “Did Geary Leave a Footprint for Sickles” in July of 2011 by Park Ranger Troy Harman provided an in-depth study of the terrain occupied by both Union Corps, the chain of events and the individuals involved in the communications regarding the orders given to both General Sickles and General Geary, and the arguments (including semantics) made for both points of view regarding General Sickles and his actions on that fateful day. Here are a few photos from that Battle Walk:
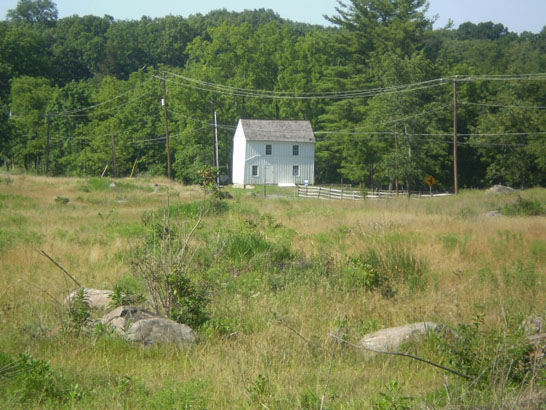
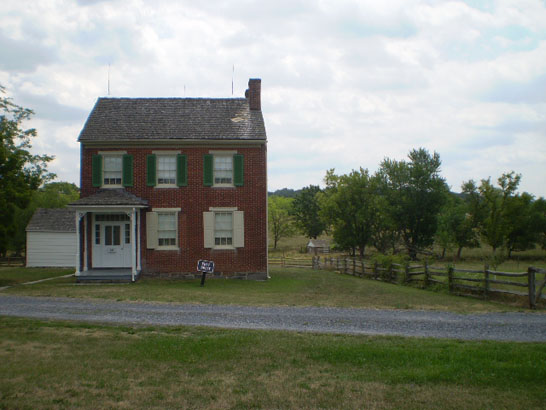
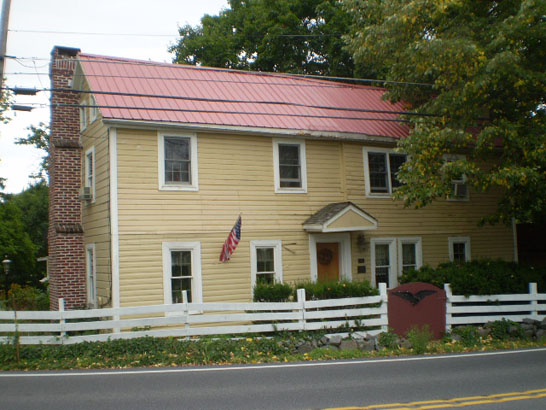
(view looking northeast toward the William Patterson house from the William Patterson
farm lane in the general area of General Sickles’ encampment on the morning of July 2)
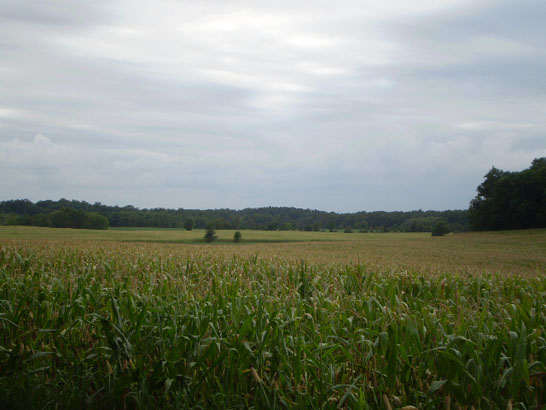
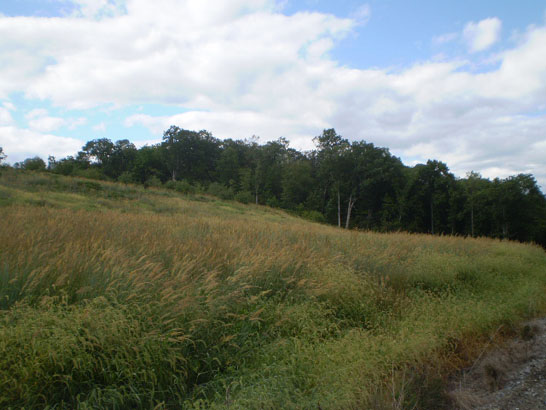
(view looking west on the William Patterson farm lane toward Patterson’s Woods)
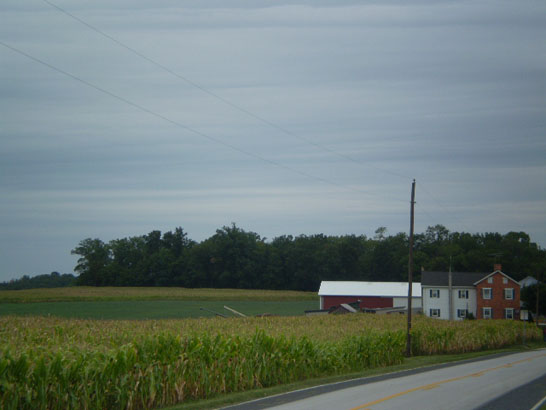
(view looking south on the William Patterson farm lane south of Patterson’s Woods)
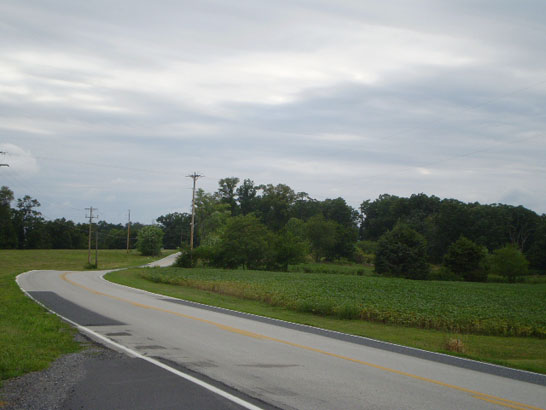
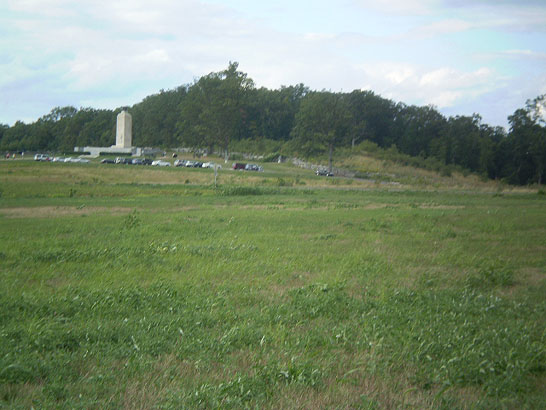
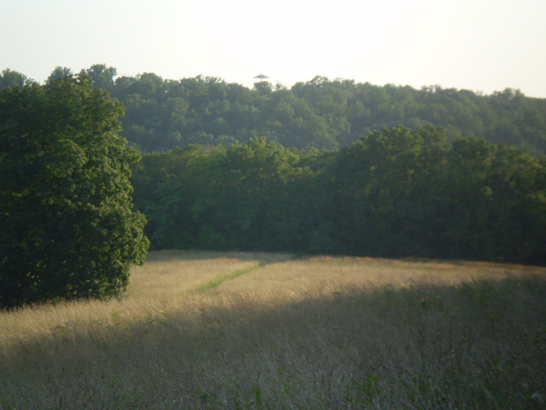
(view looking view looking southwest on the William Patterson farm lane south of Patterson’s
Woods --- the observation tower on Seminary Ridge is visible in the background in the treeline)
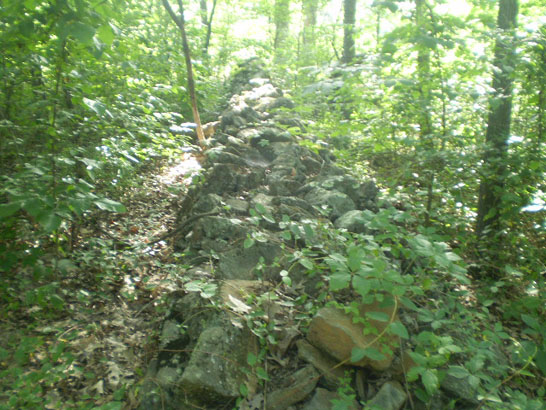
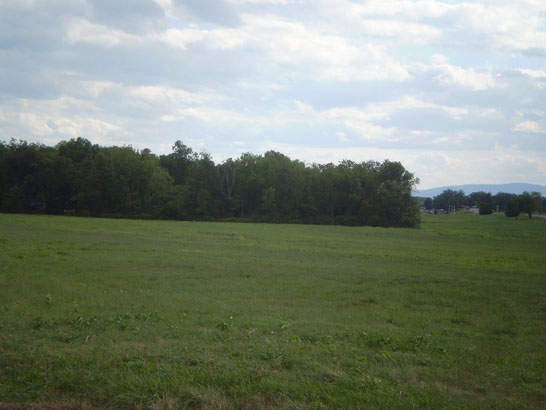
(rock wall running east to west on Swisher’s Knoll north of Munshower’s Knoll)

The Florida Brigade on July 2
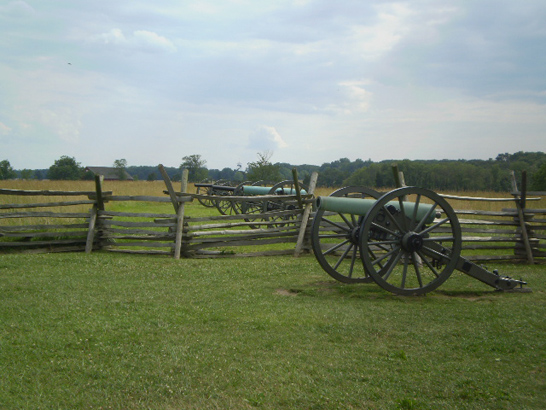
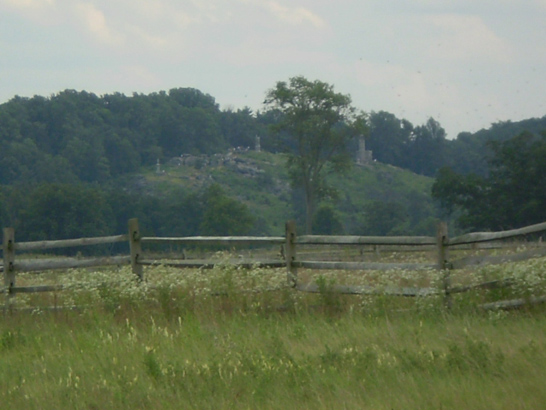
A major focus of the fighting on the afternoon and early evening of July 2 has always been the Confederate “en echelon” assault on the Union left flank. While much attention is given to the fierce fighting done by General James P. Longstreet’s I Corps and two of his three Divisions (under the command of General Lafayette McLaws and General John B. Hood), the hard fighting done by a division of General A.P. Hill’s III Corps under the command of General Richard H. Anderson was also an important phase of that assault.
In addition, when attention is given to the four out of five brigades of Anderson’s Division that saw major fighting at Gettysburg (General Ambrose R. Wright’s Brigade, General Cadmus M. Wilcox’s Brigade, General Carnot Posey’s Brigade, and General Edward A. Perry’s Brigade; General William Mahone’s Brigade saw limited action), the focus is often on Wright’s Brigade since it did indeed penetrate the center of the Union lines for a short period of time during that July 2 assault. Often overlooked or at the very least overshadowed is Perry’s Brigade on July 2, also known as the Florida Brigade. Commanded at Gettysburg by Colonel David Lang (General Perry had contracted typhoid fever during the Battle of Chancellorsville and had not yet returned to active duty), the Florida Brigade (consisting of the 2nd Florida Infantry Regiment, the 5th Florida Infantry Regiment, and the 8th Florida Infantry Regiment) was a veteran brigade but the smallest (approximately 700-740 men) in the Army of Northern Virginia, and yet despite suffering approximately 40% casualties that day, fell only a few hundred yards short of also penetrating the Union lines.
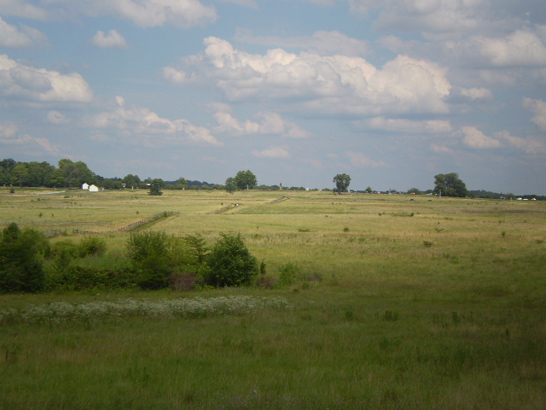
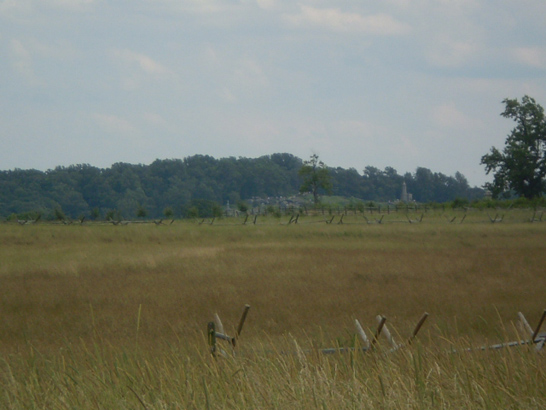
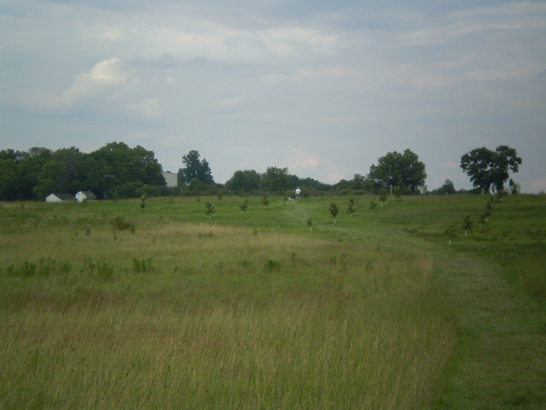
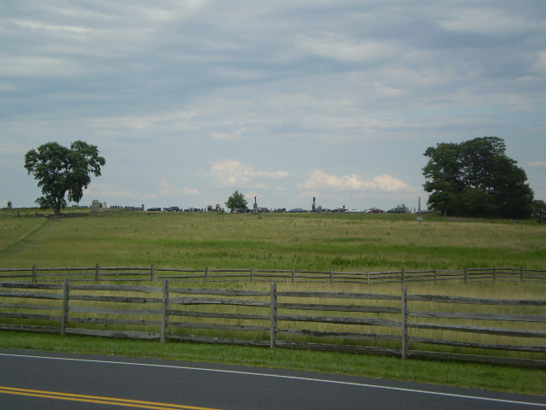
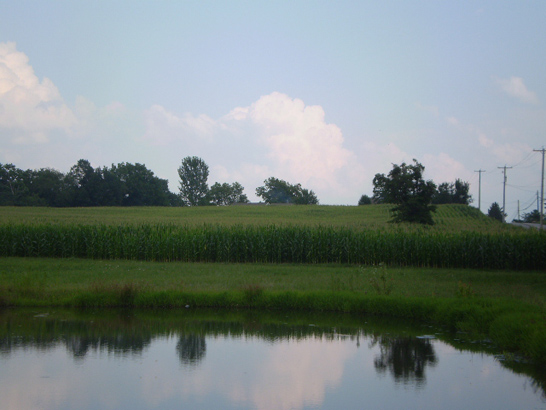
This Battle Walk in September of 2011 by Park Ranger Kyle Stetz provided a thorough overview of the action by the Florida Brigade as we traversed their assault primarily from the perspective of the 2nd Florida Infantry Regiment from their initial position along the Henry Spangler Woods (the “Point of Woods” immediately to the south of the Virginia Memorial on Seminary Ridge) to their final position about 200 yards from the Union lines on Cemetery Ridge roughly 500 yards south of the famous Copse of Trees. Here are a few photos from that Battle Walk:
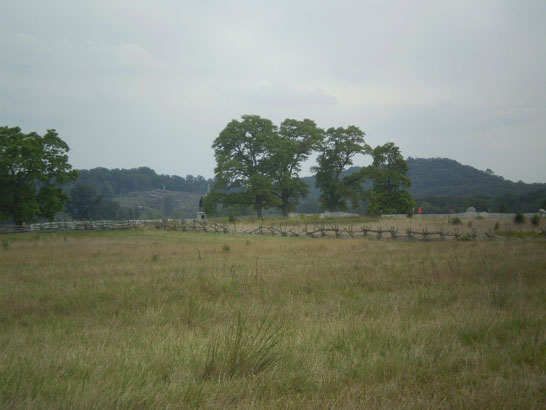
(view looking west toward the Henry Spangler farm and Spangler’s Woods)
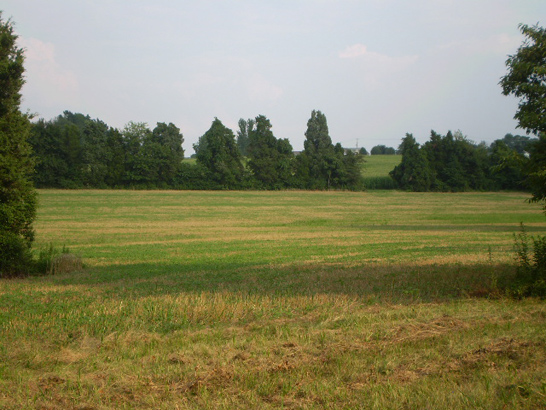
(view as you approach the Emmitsburg Road looking southeast with
Little Round Top and Big Round Top in the background)
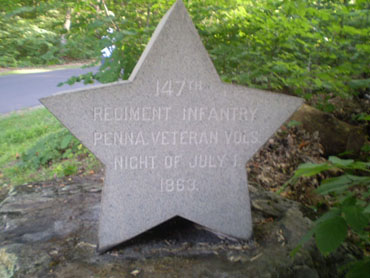
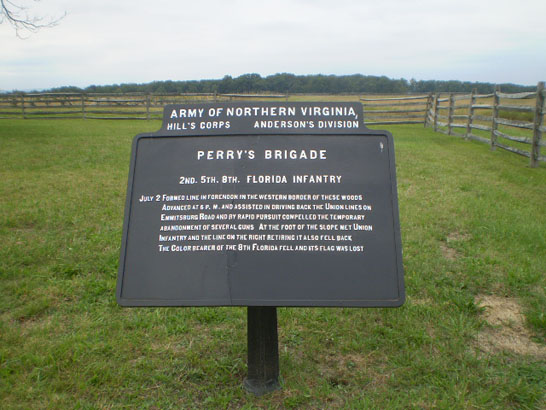
(marker to Perry’s Brigade located on the west side of the Emmitsburg Road)
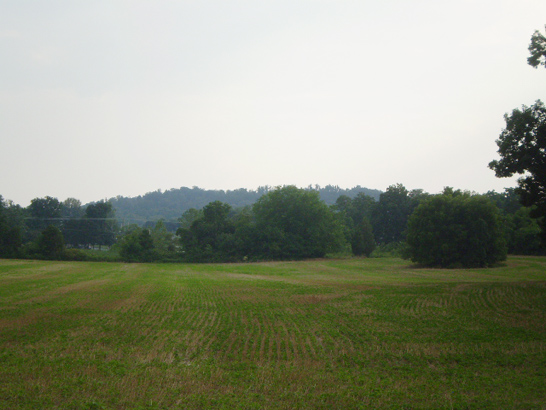
(view looking north after crossing the Emmitsburg Road toward the Nicholas Codori farm)
(view looking northeast toward Ziegler’s Grove on Cemetery Hill)
(view looking east in the area of the furthest point reached by the 2nd Florida Infantry Regiment)
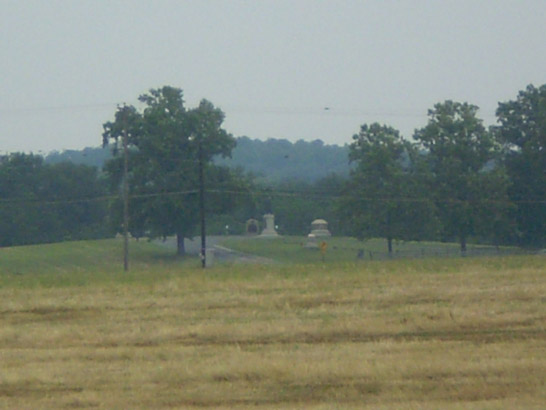
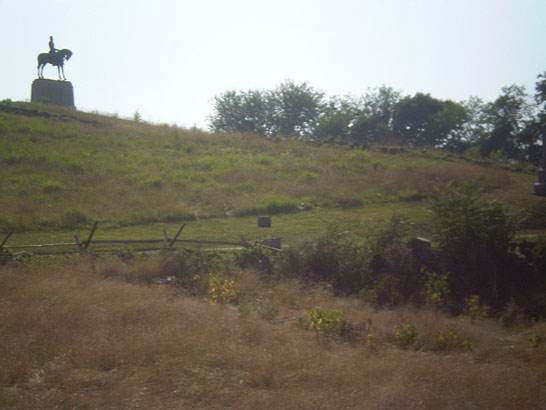
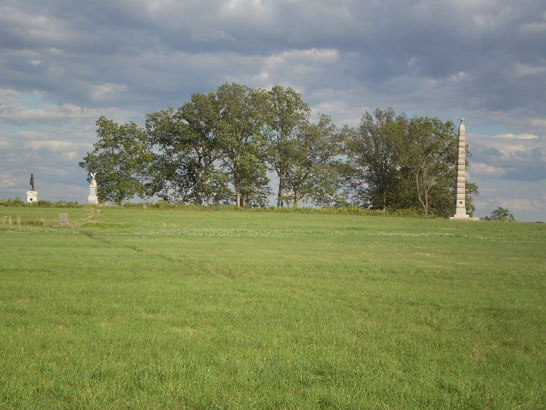
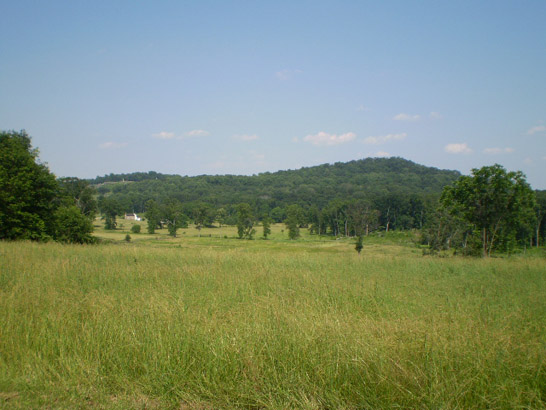
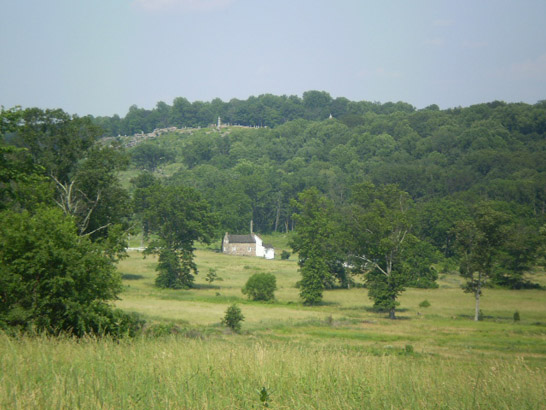
The Confederate attack on East Cemetery Hill on July 2
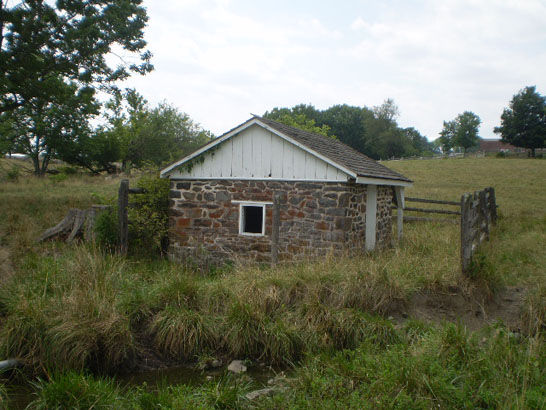
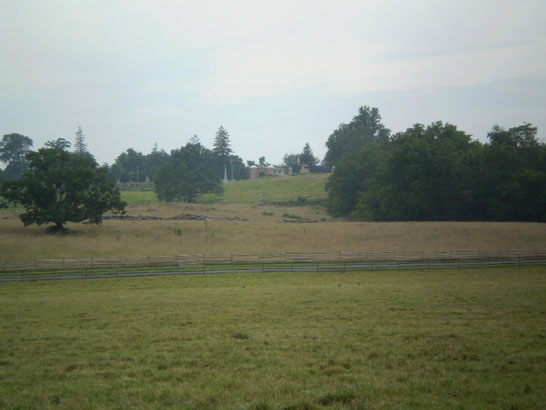
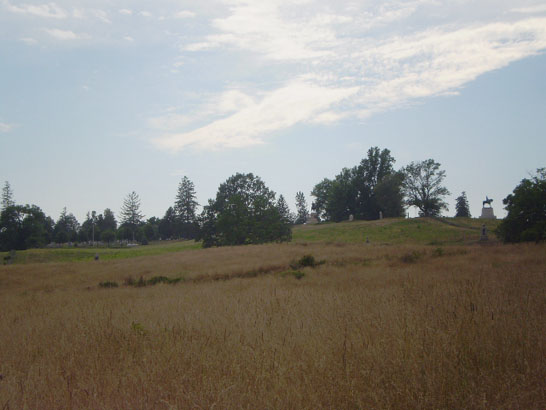
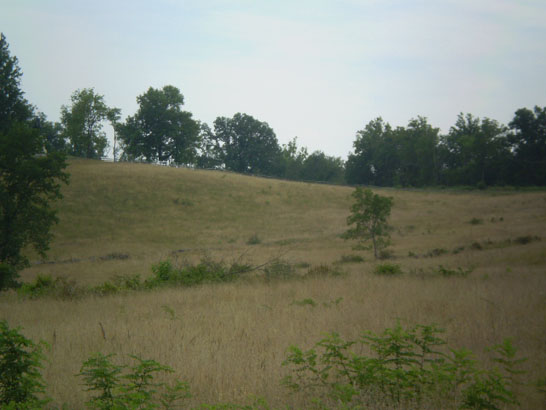
After General Edward “Allegheny” Johnson’s Division of General Richard S. Ewell’s II Corps began their attack on Union troops on Culp’s Hill in the late afternoon and evening of July 2, the brigades of General Harry T. Hays and Colonel Isaac E. Avery (who had taken command of General Robert F. Hoke’s Brigade after General Hoke was severely wounded at the Battle of Chancellorsville) of General Jubal A. Early’s Division began their assault on East Cemetery Hill from the east just as the sun began to set. The July 2010 Battle Walk led by Park Ranger Troy Harman began at the Henry Culp farm and followed largely the route taken by the regiments of Colonel Avery’s Brigade (the 6th North Carolina Infantry Regiment, the 21st North Carolina Infantry Regiment, and the 57th North Carolina Infantry Regiment) on the left flank of the attack over surprisingly rough and uneven terrain containing several valleys and defiles which provided protection from Union artillery and rifle fire but helped make the attack take about an hour before climbing the steep easterly approach to East Cemetery Hill. Here are some of my photos from that enlightening Battle Walk:
(View looking south from the Henry Culp farm)
(Springhouse of the Henry Culp farm)
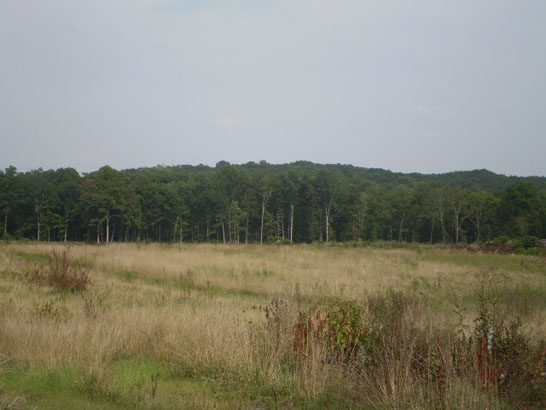
(view looking west toward East Cemetery Hill roughly 600 yards away)
(view looking west toward East Cemetery Hill roughly 400 yards away)
(view looking west toward East Cemetery Hill roughly 200 yards away)
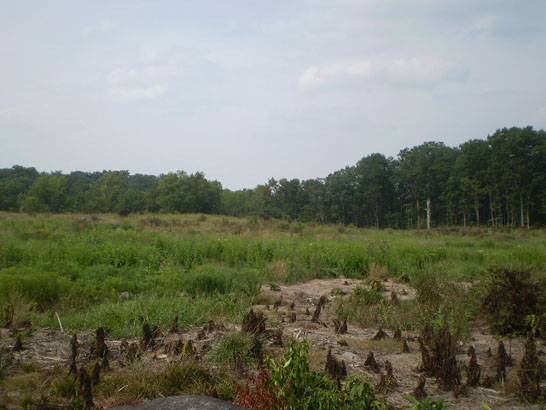
(view looking west of the low defile used by the 57th North Carolina Infantry Regiment)
(view of the rough and uneven terrain as you approach East Cemetery Hill)
(view looking south toward Stevens’ Knoll)
(view looking west toward Menchey’s Spring in the left-center of the photo)
(view looking west as you approach Wainwright Avenue/Winebrenner Lane)
(view looking east from Wainwright Avenue)
(view looking southeast from Wainwright Avenue)
(view looking southeast from East Cemetery Hill toward Culp’s Hill)
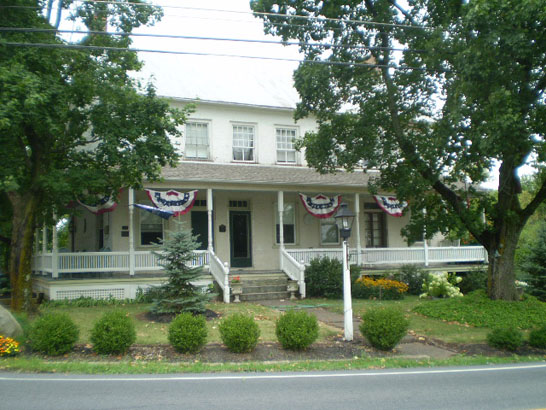
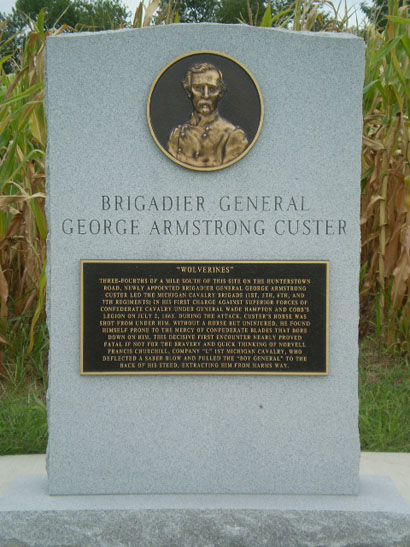
The North Cavalry Battlefield --- the cavalry action at Hunterstown on July 2In addition to the fight for Brinkerhoff’s Ridge on July 2 (see further below on this page), there was a lesser known cavalry action on July 2 roughly 4 miles north of Gettysburg at Hunterstown. This relatively brief but fierce struggle involved General George A. Custer’s Second Brigade (the 1st Michigan Cavalry Regiment, the 5th Michigan Cavalry Regiment, the 6th Michigan Cavalry Regiment, and the 7th Michigan Cavalry Regiment) of General Judson Kilpatrick’s Third Cavalry Division against portions of General Wade Hampton’s Brigade (Cobb’s Legion, Phillips’ Legion, the 1st North Carolina Cavalry Regiment, and the 2nd South Carolina Cavalry Regiment) of General J.E.B. Stuart’s Cavalry Division in the late afternoon and early evening. The action delayed J.E.B. Stuart's cavalry in covering the left flank of the Confederate Army, which was being done by the “Stonewall Brigade” and preventing those infantry troops from supporting the Confederate attack on Culp's Hill until the morning of July 3.
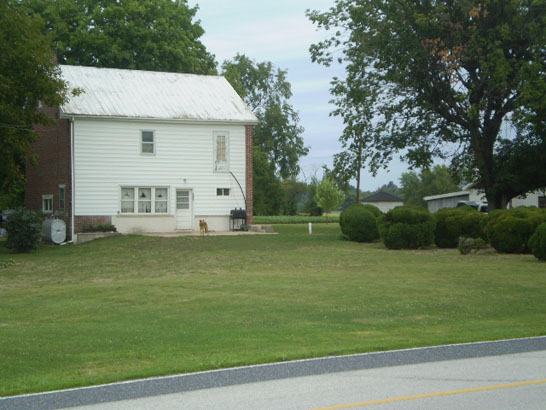
The August 2010 Battle Walk by Troy Harman literally covered a lot of ground and included stops in the square of Hunterstown where fighting occurred as well as the main area of fighting just to the south along the Hunterstown Road. Here are a few of my photos:
(the Jacob Grass Hotel, site of General Kilpatrick’s headquarters)
(the John Tate house, possible site of General Custer’s headquarters)
(historical marker at the John Tate house)
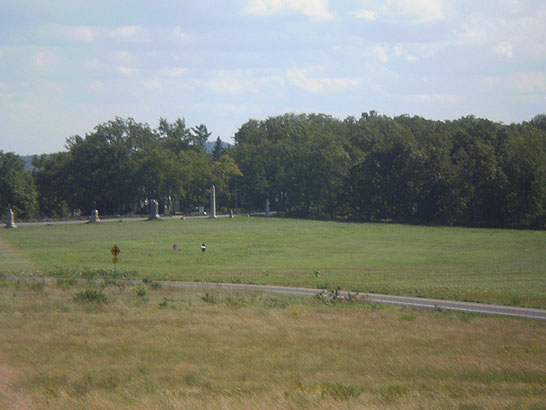
(view looking south from the Union position on Felty-Tate Ridge)
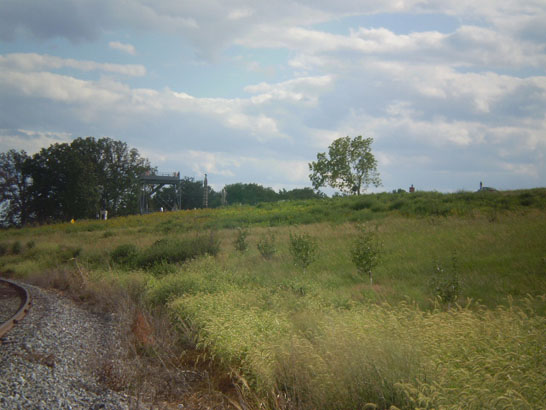
(view looking north from the Confederate position about one mile to the south)
(view looking southwest at the bend in the Hunterstown Road toward the Confederate left flank)
(the John Gilbert house, site of General Custer’s near-capture/death during his charge)
(the “Custer monument” dedicated on July 2, 2008)
The Iverson/O’Neal attack on Oak Ridge on July 1
Within a short period of time after General Robert E. Rodes’ Division of General Richard S. Ewell’s Confederate II Corps arrived on the battlefield behind Oak Hill early on the afternoon of July 1, Rodes ordered an attack on the right flank of the Union I Corps positioned on Oak Ridge by sending in General Alfred Iverson’s Brigade (the 5th North Carolina Infantry Regiment, the 12th North Carolina Infantry Regiment, the 20th North Carolina Infantry Regiment, and the 23rd North Carolina Infantry Regiment) and Colonel Edward A. O’Neal’s Brigade (the 3rd Alabama Infantry Regiment, the 5th Alabama Infantry Regiment, the 6th Alabama Infantry Regiment, the 12th Alabama Infantry Regiment, and the 26th Alabama Infantry Regiment) against General Henry Baxter’s Second Brigade of General John C. Robinson’s Second Division and General Lysander Cutler’s Second Brigade of General James S. Wadsworth’s First Division.
The Battle Walk conducted by Park Ranger Matt Atkinson in September of 2010 focused on not only some of the reasons why the attack failed (failures in leadership, coordination in troop movements and communications, and other factors such as the terrain) but also how the terrain can sometimes be both an advantage and yet a handicap at the same time. Here are some of my many photographs:
(view looking south from Oak Hill toward Oak Ridge and Sheads’ Woods)
(view looking south from the eastern slope of Oak Hill toward Oak Ridge)
(view looking southeast from the eastern slope of Oak Hill toward the Moses McClean farm)
(view looking southeast toward the Gettysburg “plain” and Wolf Hill)
(view looking north toward the eastern slope of Oak Hill)
(view looking north toward Oak Hill roughly 200 yards west of Oak Ridge)
(view looking south toward Sheads’ Woods roughly 200 yards west of Oak Ridge)
(view looking east toward the Union positions on Oak Ridge roughly 200 yards away)
Powers’ Hill and McAllister’s Hill and Granite School House Lane --- “Grand Central Station”
Powers’ Hill, while not as well known or appreciated for the role it played in the Battle of Gettysburg as is the case with other geographic locations such as Cemetery Hill, Culp’s Hill, and Little Round Top, is worth a visit on your own or on a Battle Walk. I had been to Powers’ Hill in 2008 and did some extensive exploring with several friends, and returned there during a Battle Walk done by Park Ranger Troy Harman in August of 2010 about Powers’ Hill, McAllister’s Hill, and Granite School House Lane.
The Battle Walk was an extremely interesting one as we learned how Powers’ Hill and, to a much lesser degree, McAllister’s Hill, served as artillery platforms for the Union Army as part of a concentric ring of fire to cover not only the Baltimore Pike, Granite School House Lane (the major east-west access road used to quickly shuttle Union troops within their shorter interior lines from one flank to the other as needed) and Culp’s Hill but also the large physical gap in the Union lines between Culp’s Hill and Wolf Hill. In addition to learning a great deal about logistics, Union troop movements and positions (including the 77th New York Infantry Regiment, Knap’s Independent Battery E commanded by Lieutenant Charles A. Atwell, Captain James H. Rigby’s Battery A of the 1st Maryland Light Artillery, and Lieutenant Charles E. Winegar’s Battery M of the 1st New York Light Artillery), we were also able to visit the former location of the James McAllister grist mill (see the “The far right flank of the Union Army - the “lost avenue” section on my “Off the Usual Path” page) and the remnants of the original dam nearby on Rock Creek. For more information on Powers’ Hill, see the “Powers’ Hill” section on my “Off the Usual Path” page. Here are some of my photos:
(view of the gap in the Union lines looking east with Wolf Hill in the background)
(view of the gap in the Union lines looking north with Culp’s Hill in the left background)
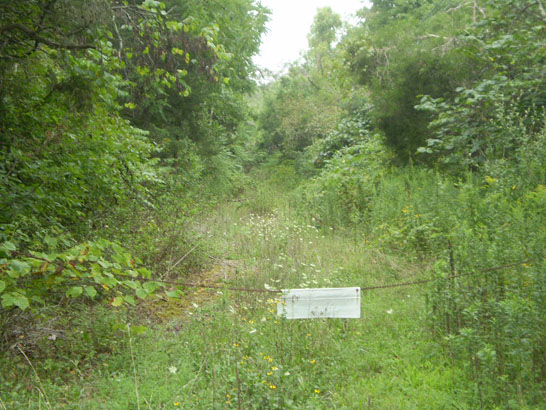
(view of Powers’ Hill looking north from Granite School House Lane)
(view looking southeast of a portion of the original Granite School House Lane)
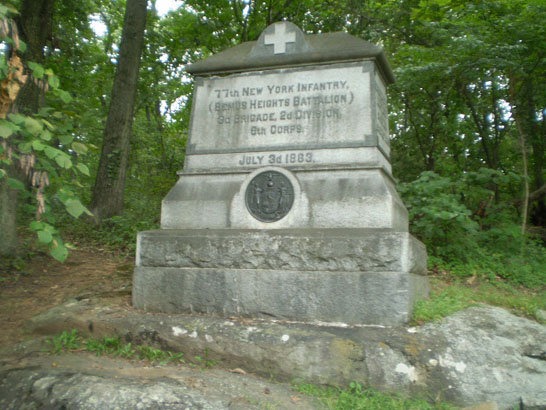
(the monument to the 77th New York Infantry Regiment on Powers’ Hill)
(the monument to the 1st Maryland Light Artillery, Battery A, on Powers’ Hill)
(the monument to Knap’s Independent Battery E on Powers’ Hill)
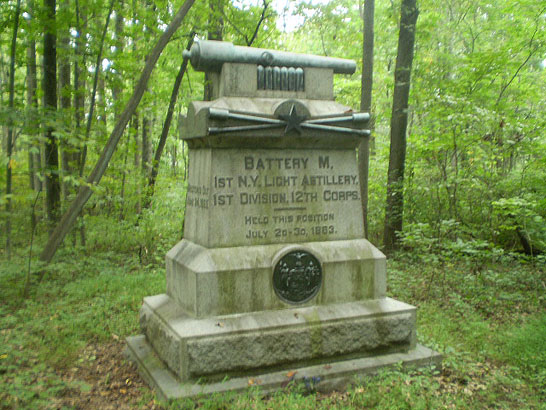
(the monument to the 1st New York Light Artillery, Battery M, on Powers’ Hill)
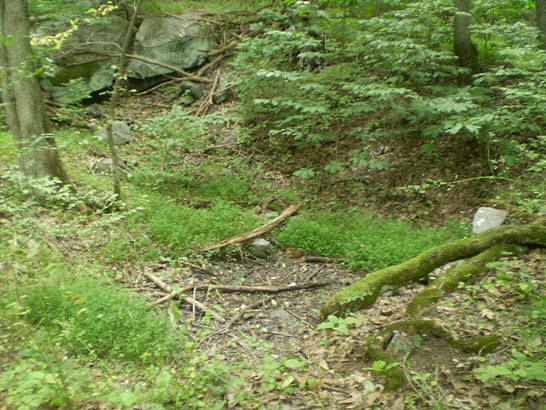
(former site of the James McAllister grist mill)
(remnants of the dam on Rock Creek used for the James McAllister grist mill)
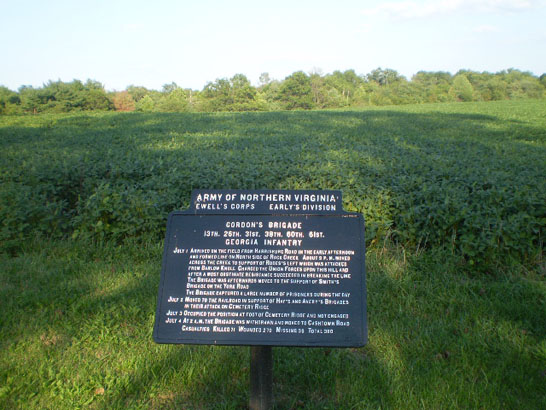
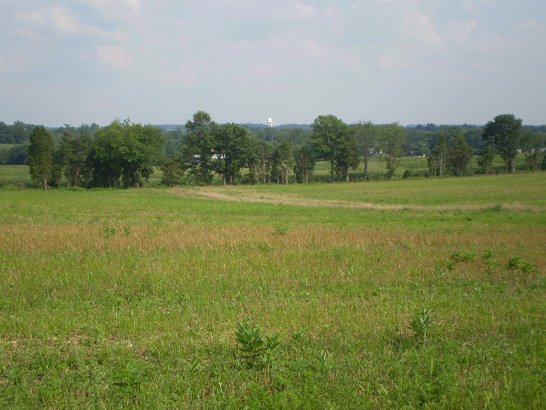
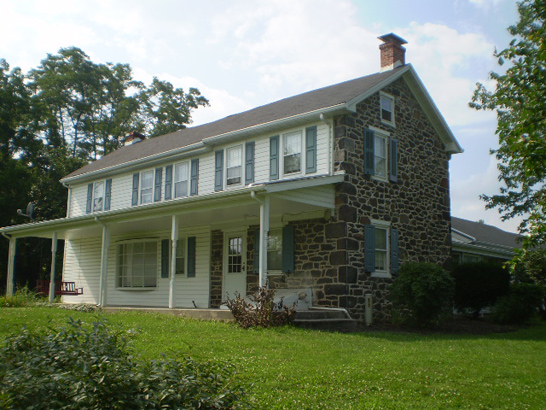
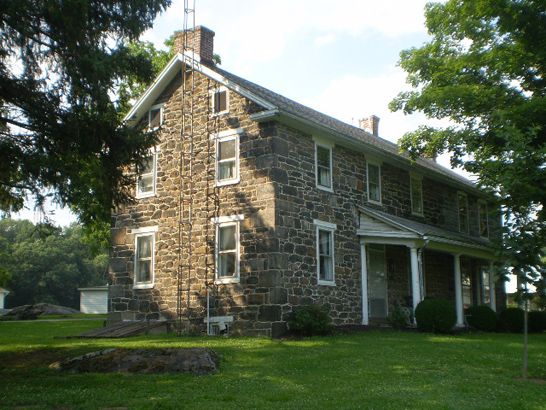
Gordon’s attack on Barlow’s Knoll on July 1
The successful attack by General John B. Gordon’s Brigade (the 13th Georgia Infantry Regiment, the 26th Georgia Infantry Regiment, the 31st Georgia Infantry Regiment, the 38th Georgia Infantry Regiment, the 60th Georgia Infantry Regiment, and the 61st Georgia Infantry Regiment) of General Jubal A. Early’s Division of General Richard S. Ewell’s II Corps on Union troops positioned on Barlow’s Knoll (known locally as Blocher’s Knoll at the time of the battle) on the far right flank of the Union line was one of the key turning points which caused the troops of the Union XI Corps north of town on the “Gettysburg plain” to finally break late in the afternoon of July 1 and retreat back through town to Cemetery Hill.
This Battle Walk in August of 2010 led by Park Ranger Troy Harman highlighted the use of terrain and physical structures by General Gordon’s troops to help conceal their movements as they maneuvered to attack troops of General Francis C. Barlow’s First Division of General Oliver O. Howard’s XI Corps. Here are a few of my photos:
(view looking south of the “finger” of trees along the west bank of Rock Creek)
(view looking east from the west bank of Rock Creek through the “finger” of trees)
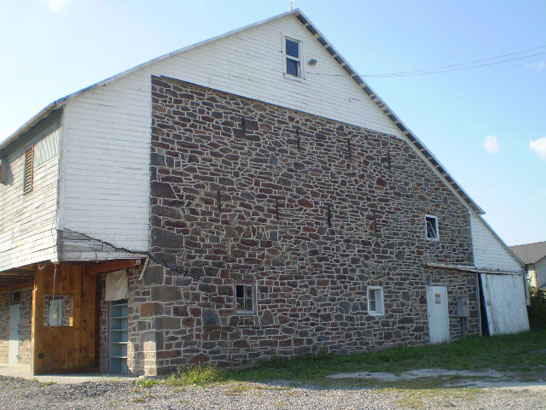
(the Josiah Benner barn located on the north side of the Harrisburg Road)
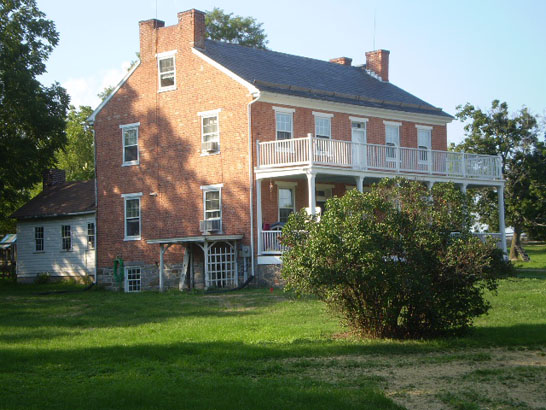
(the Josiah Benner house located on the north side of the Harrisburg Road)
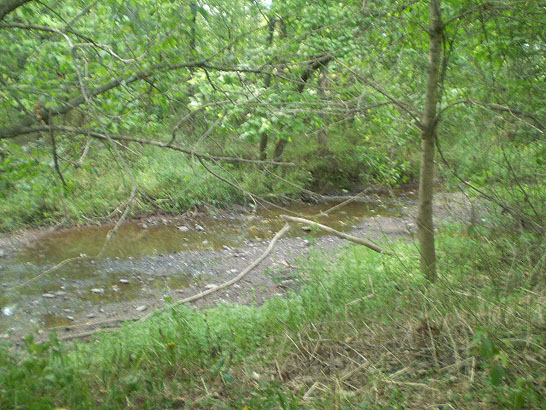
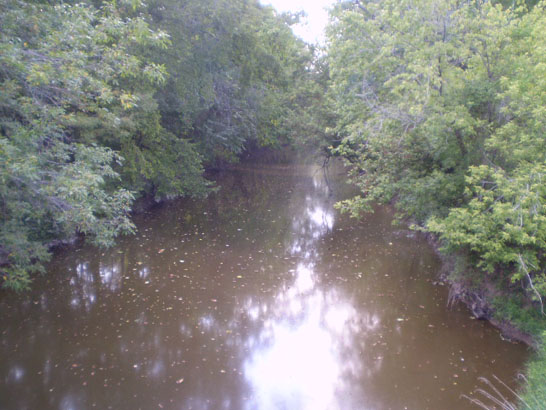
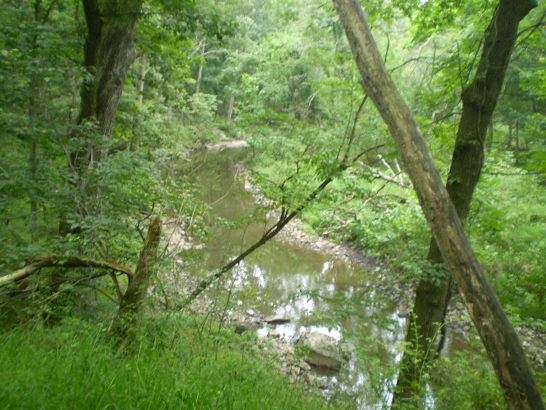
(view looking northwest of Rock Creek from the Harrisburg Road)
(view from the east side of Rock Creek looking north toward Barlow’s Knoll)
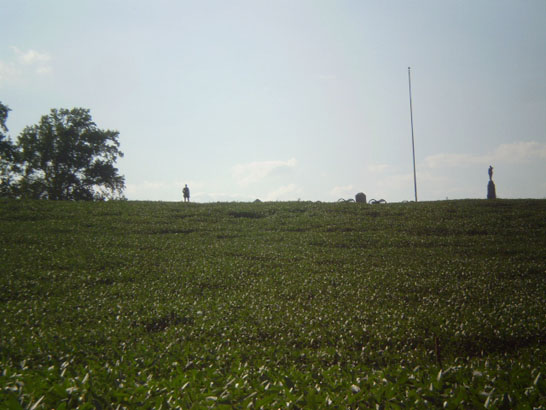
(view looking southwest from the crest of Barlow’s Knoll)
(view looking north from the crest of Barlow’s Knoll toward Oak Hill)
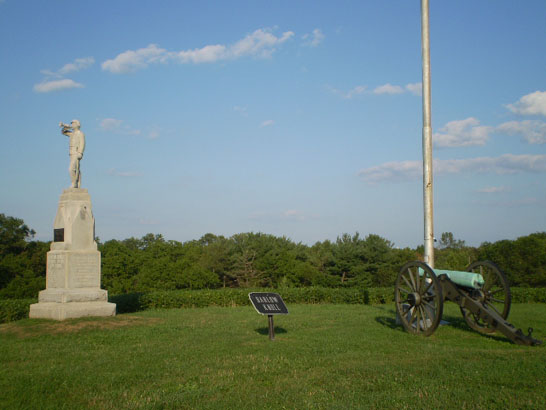
(Confederate tablet below the crest of Barlow’s Knoll)
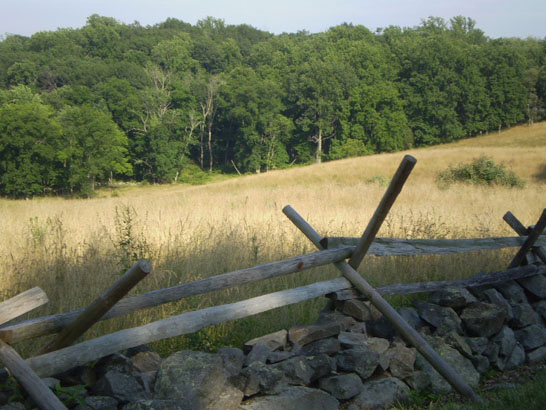
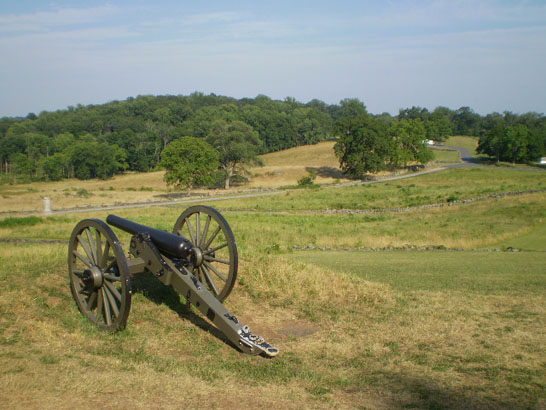
The fight for Brinkerhoff's Ridge
Located roughly halfway between Benner’s Hill and the East Cavalry Battlefield on the Hanover Road (Route 116) is an area known as Brinkerhoff’s Ridge, where heavy skirmishing occurred on July 2 from mid-morning until dusk between the “Stonewall Brigade” commanded by General James A. Walker that was protecting the left flank of the Confederate Army and Union cavalry in General David M. Gregg’s Second Cavalry Division that was protecting the right flank of the Union Army. This lengthy fight for Brinkerhoff’s Ridge prevented the “Stonewall Brigade” from being of any real help in the attack on Culp’s Hill until the morning of July 3.
I was able to take this Battle Walk, which was done by Park Ranger Troy Harman, in 2009. In addition to learning more about this action on July 2, I gained an appreciation of the feeling of being isolated from the rest of the army (Union or Confederate) on that portion of the battlefield. Here are some of my photos from that Battle Walk:
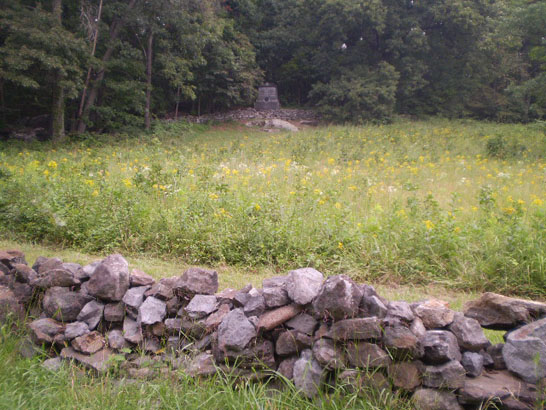
(remnants of the stone wall used by the 3rd Pennsylvania Cavalry on the west side of Hoffman Road)
(view looking east to the “staging area” of General David M. Gregg’s cavalry east of Brinkerhoff’s Ridge)
(the Adam Storrick house on the eastern slope of Brinkerhoff’s Ridge)
(view looking west from the crest of Brinkerhoff’s Ridge)
(the Henry Brinkerhoff house on the western slope of Brinkerhoff’s Ridge)
(view looking east of the western slope of Brinkerhoff’s Ridge from the Henry Brinkerhoff house)
(view looking east from the observation point of General J.E.B. Stuart roughly 300 yards north of the Hanover Road)
(view of the western side of Brinkerhoff’s Ridge roughly 600 yards north of the Hanover Road with Wolf Hill in the background)
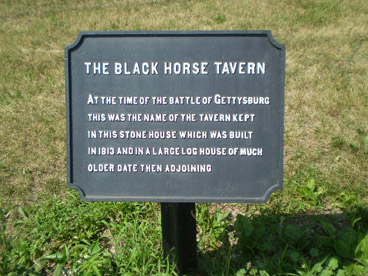
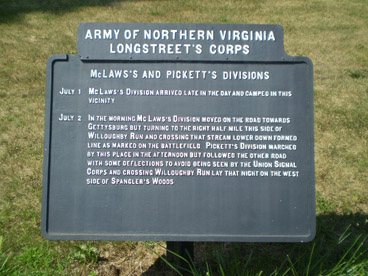
Longstreet's countermarch on July 2General James Longstreet's assault on July 2 on the Union Army's left flank was supposed to be a surprise attack, but due to faulty reconnaissance information by Captain Samuel R. Johnston and his small scouting party, a long countermarch was necessary to find a different route which would keep the Confederate troops concealed from view by the Union Signal Corps station on Little Round Top until the attack actually began. This Battle Walk was one that I have wanted to go on for a long time, and finally got the chance in 2008. It was a truly great Battle Walk done by Park Ranger Troy Harman with excellent discussion stops. We did not have to walk both the entire route of the march and the countermarch, and we saw some wonderful structures and places along the way in addition to the "troublesome hill" which made that long countermarch necessary. Here are some of my many photos from that day:
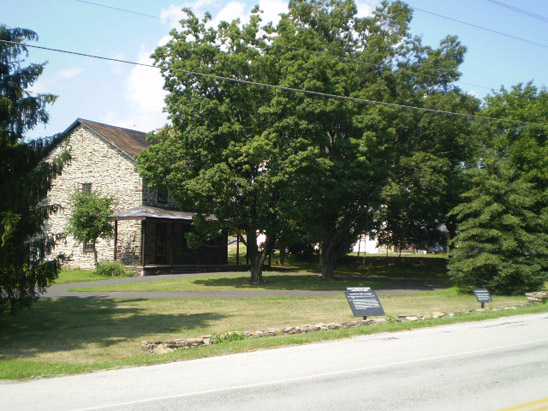
(the Black Horse Tavern along the Fairfield Road and Black Horse Tavern Road)
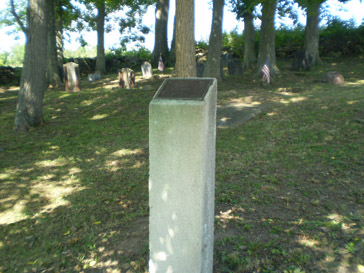
(the colonial era McClelland Cemetery where Confederate soldiers were also buried)
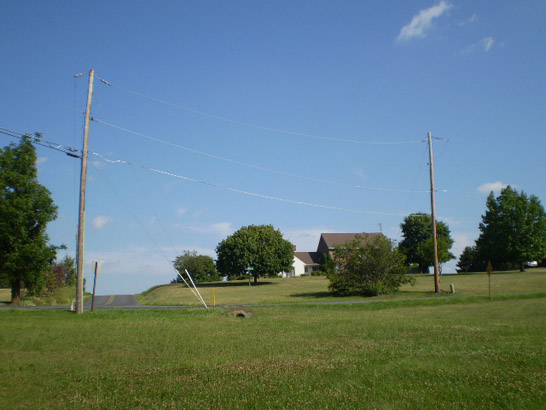
(the "troublesome hill" looking east at Plank Road where the countermarch began)
(looking east atop the "troublesome hill" with Big Round Top to the left of the house)
Longstreet's proposed flanking maneuver on July 3After the Confederate attacks on July 2 met with limited success, General James Longstreet began to make plans early on the morning of July 3 for actually implementing a proposal he made to General Lee on July 1 --- to move around to the right of Big Round Top and place the entire Confederate Army between the Union Army and Washington, D.C., thereby forcing the Union Army to attack them on ground of their own choosing. However, these beginning stages were stopped by General Lee, and General Longstreet was given orders to again attack the Union Army in what we all well know now as Pickett's Charge. This Battle Walk was first done in 2008 by Park Ranger Troy Harman, and I was fortunate to go along on the "dress rehearsal". It was extremely interesting to actually walk the ground and play the "what if" game; the discussion stops were well chosen, and the view from Big Round Top (although partially obscured by the dense foliage) toward Baltimore was enjoyable and insightful as well. Here are a few photos:
(view of Little Round Top and Big Round Top at the beginning of this Battle Walk)
(view of Devil's Den and Little Round Top further along to the south)
(view of the John Slyder farm and Little Round Top as you approach Big Round Top)
(path at the base of Big Round Top to be used in the flanking maneuver)
Two other Battle Walks that I was able to take in 2008 were:General Joseph R. Davis' attack on July 1
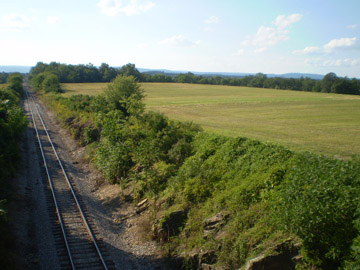
While General James J. Archer's Brigade of General Henry Heth's Division of General A. P. Hill's III Corps attacked the left flank of General Solomon Meredith's "Iron Brigade" of General James S. Wadsworth's Division of Union General John F. Reynolds' I Corps south of the Chambersburg Road along McPherson's Ridge, General Joseph R. Davis' Brigade attacked the right flank north of the Chambersburg Road. This Battle Walk, done by Park Ranger Matt Atkinson, provided me with an opportunity to further examine not only the famous "railroad cut", but also the two separate parts of McPherson's Ridge (East McPherson's Ridge and West McPherson's Ridge) and the low swale which temporarily obscured General Davis' attack from view. Here are some of my photos:
(view to the east from West McPherson's Ridge across the swale in the middle of photo)
(view from the swale looking north toward Oak Hill and the Eternal Light Peace Memorial)
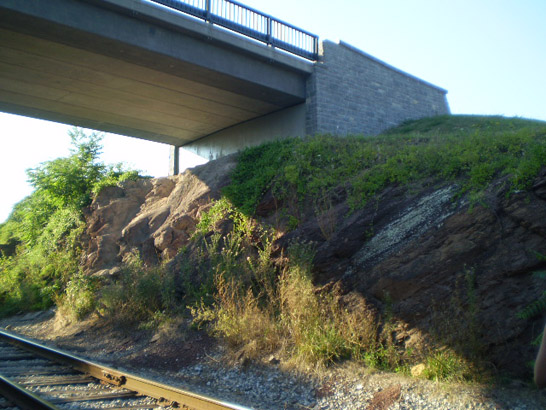
(view to the west from the bridge over the "railroad cut")
(view to the east toward town in the "railroad cut")
(view showing the highest/deepest part of the "railroad cut" --- about 14 feet)
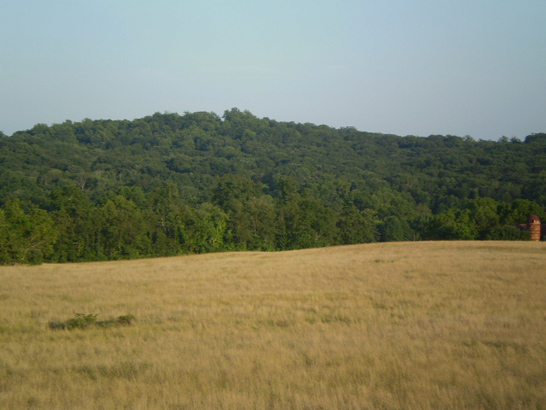
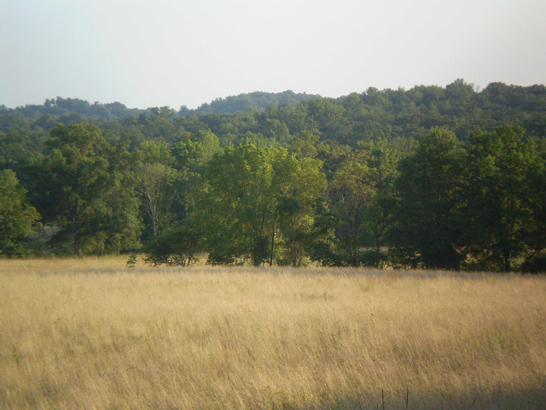
General Alexander Schimmelfennig's attack on July 1With both armies realizing the value of Oak Hill on July 1, General Alexander Schimmelfennig's Brigade of General Carl Schurz's Division of Union General Oliver O. Howard's XI Corps was given the assignment to take the hill before Confederate troops of General Richard S. Ewell's II Corps, approaching from the north of town, got there first. This very interesting Battle Walk, done by Park Ranger Troy Harman, focused on how the terrain affected this portion of the battle, and also showed how the Union XI Corps utilized the geographic features when establishing their defensive positions. A greater visual appreciation and better understanding of General Francis C. Barlow's troops on Blocher's Knoll (now known as Barlow's Knoll) to the east was also gained by going on this Battle Walk. Here are a few of my photos from that day:
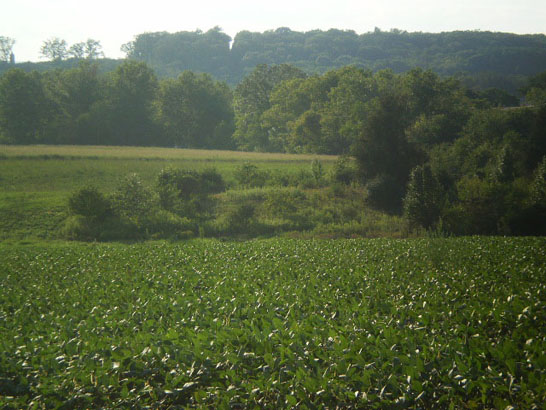
(view to the north on the undulating Gettysburg "Plain" looking toward Oak Hill)
(view of a hedgerow/former fence on the McClean farm used by Confederate sharpshooters)
(view from the same location looking northwest toward Oak Ridge and the observation tower)
(view from the same location looking to the east looking toward Barlow's Knoll)
(view from the same location looking to the southeast toward Wolf Hill in the background)
Two other Battle Walks I was able to take in 2009 were:Pickett’s Charge -- General Armistead’s Brigade
I have walked across the fields of Pickett’s Charge on my own, but always attempt to go on the various Battle Walks that focus on different aspects or specific brigades involved in that historic attack. One such Battle Walk in 2009 was done by Park Ranger Matt Atkinson that focused on General Lewis A. Armistead’s Brigade which was comprised of the 9thVirginia Infantry Regiment, the 14thVirginia Infantry Regiment, the 38thVirginia Infantry Regiment, the 53rd Virginia Infantry Regiment, and the 57th Virginia Infantry Regiment.
Starting at the Virginia Monument on Seminary Ridge, we slowly walked across the undulating fields and the many swales (I counted four swales before reaching the fences along the Emmitsburg Road, and one small swale east of the Emmitsburg Road roughly 100 yards from the stone walls at “The Angle”) where General Armistead’s troops were out of view of most of the Union troops and artillery on Cemetery Ridge. I stopped several times to observe how the Confederate troops were visible and under fire almost the entire time by Lieutenant Benjamin F. Rittenhouse’s 5th U.S. Artillery, Battery D, on Little Round Top (Rittenhouse had taken command after Lieutenant Charles E. Hazlett was killed on the afternoon of July 2), along with observing the location of Colonel Freeman McGilvery’s line of batteries from the Union Artillery Reserve on the southern portion of Cemetery Ridge which also poured deadly enfilade fire on the approaching brigade.
Crossing the fences along the Emmitsburg Road, then climbing over the wall at “The Angle” and eventually reaching the small marker where General Armistead was reportedly fatally wounded, I felt many emotions: awe, sadness, and perhaps most of all, a greater respect for the indescribable courage shown by those brave men from Virginia and ALL of the Confederate troops who participated in that glorious but tragic attack known as Pickett’s Charge. Here are some of my photos from that Battle Walk:
(view roughly 100 yards east of Seminary Ridge looking toward Cemetery Ridge)
(view of the cannonade position of Captain Joseph G. Blount’s “Lynchburg Artillery” Battery)
(view roughly 200 yards east of Seminary Ridge looking north toward town)
(view from a swale roughly 400 yards east of Seminary Ridge looking toward Little Round Top)
(view roughly 800 yards east of Seminary Ridge looking toward Cemetery Ridge)
(view roughly 800 yards east of Seminary Ridge looking southeast toward Little Round Top)
(view from the Emmitsburg Road looking east toward “The Angle”)
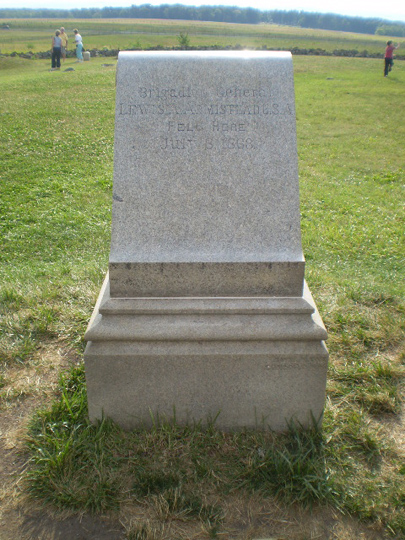
(the small monument/marker to General Lewis A. Armistead on Cemetery Ridge)
The Texas Brigade Attacks Devil's DenWith much of the public’s interest and attention of General James Longstreet’s late afternoon attack on July 2 often focused on the assault on Little Round Top by troops of General Evander M. Law’s Brigade of General John B. Hood’s Division, I took advantage of the opportunity to learn more about the role played that day by another brigade of that division, General Jerome B. Robertson’s Brigade, known as the “Texas Brigade” (the 1st Texas Infantry Regiment, the 4th Texas Infantry Regiment, the 5th Texas Infantry Regiment, and the 3rd Arkansas Infantry Regiment) in their attack and capturing of Devil’s Den.
Conducted by Park Ranger Karlton Smith, I walked and viewed the terrain from the southern portion of the battlefield along Warfield Ridge past the Michael Bushman farm through the Triangular Field to the crest of Devil’s Den that was traversed primarily by the 1st Texas Infantry Regiment. As is the case in any of these Battle Walks, a greater appreciation was gained of the terrain (especially with the ongoing efforts of the National Park Service to rehabilitate the battlefield as much as possible to what it appeared like in 1863) encountered by these troops. Here are several of my photos:
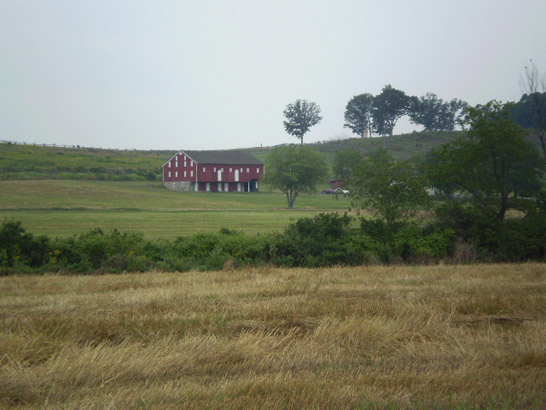
(looking north just east of Warfield Ridge toward the George Rose farm)
(looking south just east of Warfield Ridge toward the Michael Bushman farm)
(view crossing the valley of Rose Run toward Devil’s Den and Little Round Top)
(view from the vicinity of the foundation of the John Timbers farm toward the Triangular Field)
(view from the trolley path at the southern end of the Triangular Field toward Devil’s Den)
(view from the middle of the Triangular Field looking south toward the John Slyder farm)
(view from the crest of Devil’s Den looking southwest toward Warfield Ridge in the background)
(view from the crest of Devil’s Den looking east toward Little Round Top)
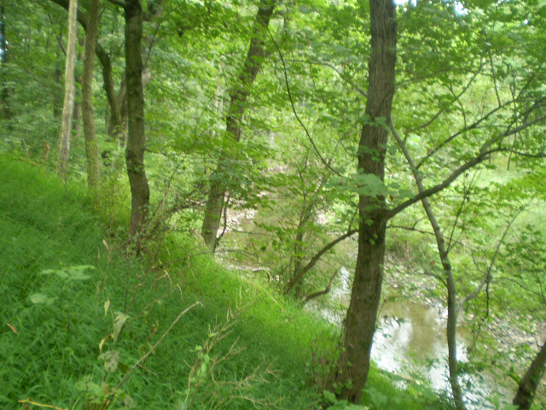
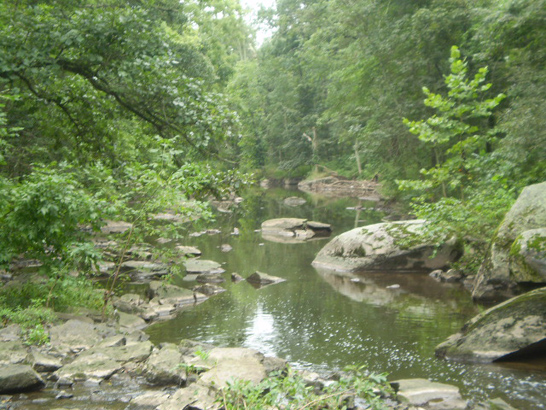
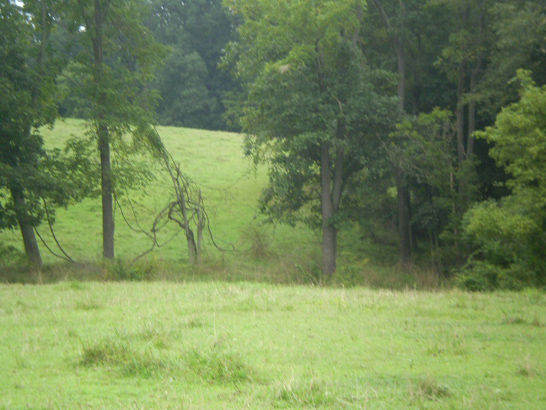
Johnson's attack on Culp's Hill on July 2I was fortunate to participate in a "Battle Walk" in 2007 with Park Ranger Troy Harman that does not happen very often because it requires the prior permission of private landowners (see also my section on the "lost avenue" on my "Off the Usual Path" page), and retook it in 2009. This particular walk, starting at Benner's Hill and lasting over three hours, retraced the steps of General Edward “Allegheny” Johnson's Division of General Richard S. Ewell’s Confederate II Corps in their evening assault on Culp's Hill on July 2. As we followed the footsteps of General John M. Jones’ Brigade (consisting of the 21st Virginia Infantry Regiment, the 25th Virginia Infantry Regiment, the 42nd Virginia Infantry Regiment, the 44th Virginia Infantry Regiment, the 48th Virginia Infantry Regiment, and the 50th Virginia Infantry Regiment), which was on the right flank of the attack, I gained a greater appreciation for those soldiers, as our own group struggled (even with the assistance of a guide rope) down the surprisingly high (around 25 feet in some areas) and steep embankment to the edge of Rock Creek and crossing over it (luckily in August of 2009 the creek was extremely low – it was reportedly waist deep in the area we crossed at the time of the battle) before continuing our trek up Culp's Hill. Here are just some of my photos:
(view from the south end of Benner’s Hill looking southeast toward Wolf Hill)
(view from the south end of Benner’s Hill looking south toward Powers’ Hill in center background)
(view from the south end of Benner’s Hill looking southwest toward Culp’s Hill)
(view from the steep east bank looking south down Rock Creek)
(better view of the steepness of the east bank of Rock Creek)
(view of Rock Creek looking north)
(view from the meadow just west of Rock Creek looking toward Rock Creek)
(view from the meadow just west of Rock Creek looking toward Culp’s Hill)
(view from the meadow just before reaching the base of Culp’s Hill)
Beginning in 1996, the Pennsylvania Cable Network has been filming many of the "Battle Walks", and also telecasts the special "Battle Walks" that only take place each year on the anniversary of the 3-day battle. Copies of many of the "Battle Walks" can be ordered online by going to the webpage located at https://pcntv.com/shop-gettysburg/.


Copyright 2008. Randy Drais. All rights reserved.